How to flash a custom ROM


As good as Android is, sometimes you just want a little more. Whether it's because Samsung's Touch Wiz doesn't quite hit the mark, you think your phone is running too slowly or just because you're getting impatient waiting for your device to receive the Marshmallow update, sometimes installing your own version of Android (a custom ROM) is the only way to go.
What is a ROM?
One of Android's main selling points is its open and customizable nature. If you're not entirely happy with what you have, you can change it to one of countless modified versions of the operating system made by independent developers.
These modified versions are what we call ROMs. New ROMs can get you updates quicker than the manufacturers, offer you a cleaner alternative than 'vanilla' Android, or add a few features.
To 'flash' or install a custom ROM you'll need the following things:
- An unlocked bootloader
- A rooted phone
- Custom recovery
These terms are described in some detail in our Custom ROM and root explained article.
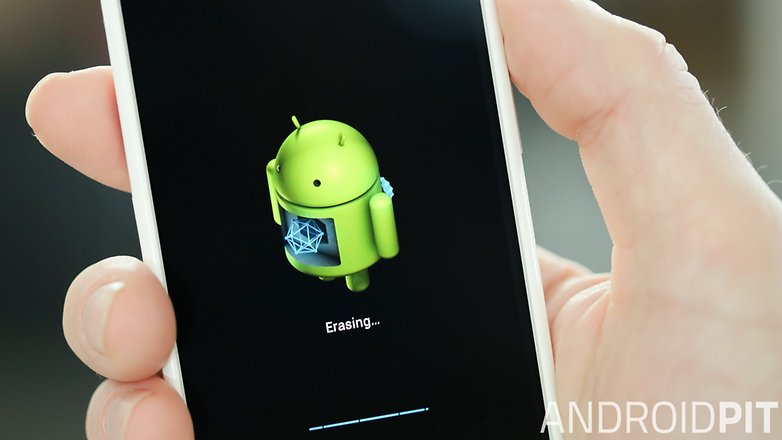
Now we know what we're dealing with, but there are still a few things to check before you start to flash your custom ROM. And before we go any further, make a backup of any important data.
1. Unlock the bootloader
The bootloader is the program that starts up as soon as your phone switches on. It differs between devices. Normally it acts as the prelude to opening your Android system but the right combination of buttons will open Recovery Mode. Each phone's button combination will be different, but we have a range of guides that will explain the process here at AndroidPIT, so just search for yours in the search bar.
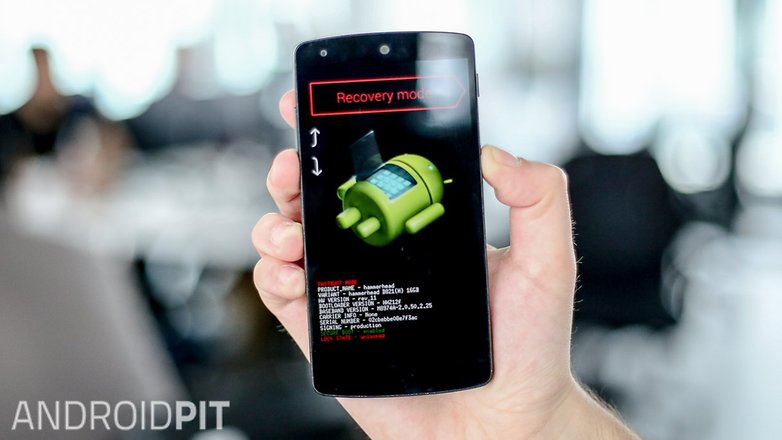
2. Get root permissions
The term 'root permissions' comes from the techy world of Unix and Linux and it essentially means becoming the system administrator for your device, thus having the maximum administrative permissions. Once activated you can modify system files, parameters, uninstall default apps and all sorts of useful stuff.
Although it isn't as complex as it may seem, using root permissions still involves a little technical know-how, and may cause problems with warranties and getting official Android updates. Take a look at the articles below to find out how to do root your phone and decide whether it's right for you.
- How to root your device without voiding the warranty
- 10 reasons to root your Android device
- 5 reasons not to root your Android device
3. Install a Custom Recovery tool
The standard recovery section of your phone is a black screen with white lettering (similar to the one you'd see on a PC), which allows you to perform some low-level functions without properly accessing the system. This is present in every Android device and it's normally activated by pressing a combination of buttons – you'll have to Google to find out which combination fits your device.
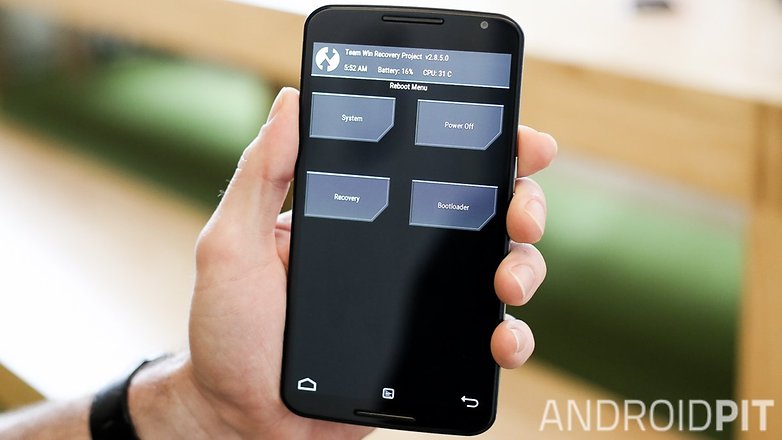
In case you need to restore factory settings when installing the custom ROM, it's wise to also install a custom recovery tool. The best ones are ClockworkMod Recovery and TWRP Recovery, both are available from the Play Store.
Once you've downloaded one, you can select Flash ClockworkMod recovery or Install TWRP from your recovery menu and they will be installed on your device. It's worth noting that on some phones, you'll need to use the volume keys to navigate this menu.
4. How to flash a custom ROM
So now we know what a custom ROM is it's time to decide which one – if any – you want to use. This is a largely personal choice and before you start it's worth considering whether you really need or want a custom ROM, but here are some of the best options:
- CyanogenMod: Excellent performance and versatile
- MIUI: Superb graphics and safe
- Paranoid Android: Quick-running and flexible
- AOKP: All-rounder with great performance.
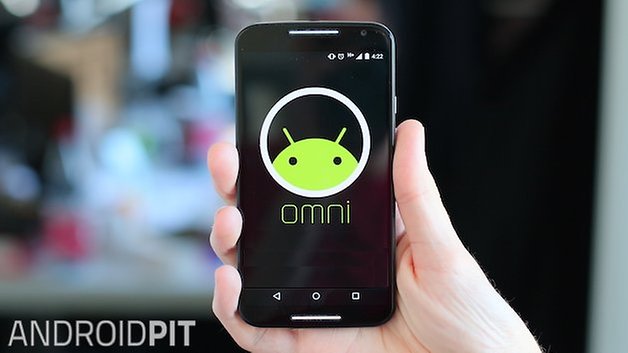
Once you've made your choice, here's the safest way to flash your custom ROM:
- Download your chosen ROM and copy it to the internal memory or an SD card.
- Switch the phone to recovery mode with the key combination you found earlier.
- Make a backup by selecting Backup and Restore then Backup. Wait until this is finished and return to the main menu. If you do this, you'll be able to restore your device should anything go wrong.
- Select the options wipe data (which will remove the old ROM), wipe cache and wipe Dalvik cache (found in the Advanced section).
- Then hit install zip from sdcard then choose zip from sdcard. Next, find the copy of the ROM you made earlier and the phone will automatically start a series of processes.
- Wait for the end of the procedure and restart the phone. The first startup will take longer than normal, but if it lasts more than about 15 minutes something is probably wrong. But don't panic. Just remove the battery (if possible – if not press the reset button or the power button) and repeat the procedure from step 1. If the error happens again, you can try a different custom ROM or hit Backup and Restore > Restore to go back to where you started.
Google Play Store and Samsung Apps

Once you've finished installing your custom ROM you'll notice a distinct lack of apps, as well as the Google Play Store or Samsung store. This is because these are not open-source, so developers don't have permission to place them in their ROM. But there are ways around this.
That's all you'll need to get a custom ROM on your phone. If you decide to try it, let us know it goes in the comments.




Cyanogen is great.. but the root access in developer options never worked for me.. can someone assist me?