How to get Android 5.1 on the Nexus 7 (2013)
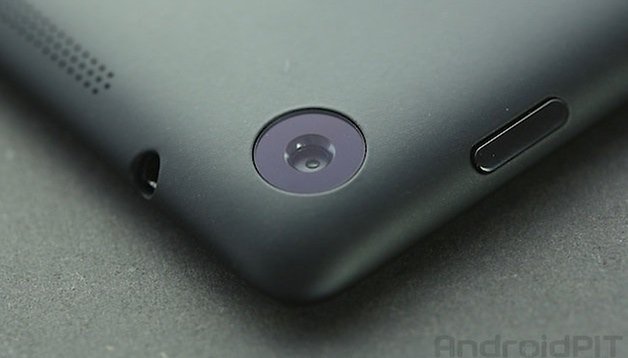

The factory images are up for Android 5.1 Lollipop on the Nexus 7 (2013), both for the Wi-Fi only and 3G version. Read on for a walkthrough on how to get Android 5.1 on the Nexus 7 (2013) right now.
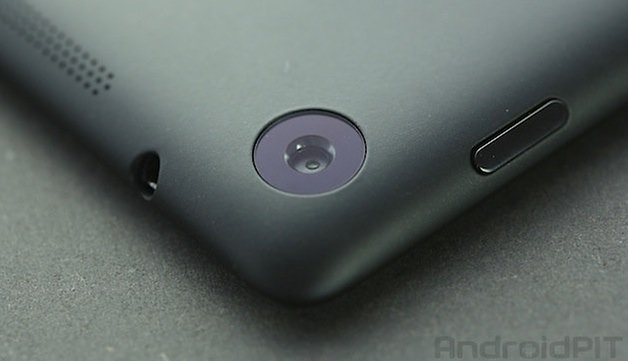
Note: this process installs a clean version of Android on your tablet. That means no pictures, no apps, no data or files. So please be sure to make a complete backup (or multiple backups, to be safe) of everything you have on your tablet that you want to keep, as this process will wipe your tablet. If you need some help backing up, check out our guide on how to back up everything on Android.
Prerequisites
- Download ADB Tools and unpack the file
- Download one of the following two files:
- Android 5.1 for the Nexus 7 (2013, Wi-Fi)
- Android 5.1 for the Nexus 7 (2013, Mobile)
- Once downloaded, unpack the file in the ADB Tools folder.
- An unlocked bootloader. If you need help, you can use the following app.
- USB Debugging enabled on your Nexus 7. (Go to Settings > About Phone and tap Build Number seven times until the Developer Options setting is enabled. Go to Developer Options and enable USB Debugging)
- Make sure you have the required drivers installed on your computer. You can download the Google USB drivers from Google.

How to get Android 5.1 on Nexus 7 (2013)
1. Turn your Nexus 7 off.
2. Press and hold Volume Down and Power until you enter the bootloader screen.
3. Connect your Nexus 7 to your computer with a USB cable.
4. Open a Windows Explorer window and navigate to the ADB Tools folder where you unpacked the downloaded files before.
5. Double click the flash-all.bat file and wait until it has completed.
6. Your Nexus 7 will reboot and be running Android 5.1 when it has finished.

Troubleshooting
flash-all.bat error
If you encounter an error (which is relatively common when using flash-all.bat), you just have to flash the individual components manually.
In the ADB Tools folder you will have the previously unpacked files for the Android 5.1 update as well as another zip file with a file name starting with ''image''. Unzip this too and make sure all the unzipped files are in the same ADB Tools folder.
Hold Shift and right-click in some empty space in the ADB Tools folder. Click Open Command Window Here and enter the following commands:
- fastboot flash bootloader <bootloader-filename>.img
- fastboot flash radio <radio-fileame>.img
- fastboot reboot-bootloader
- fastboot flash recovery recovery.img
- fastboot flash boot boot.img
- fastboot flash system system.img
- fastboot flash cache cache.img
- fastboot flash userdata userdata.img
Once you have successfully flashed each component, you can use the volume buttons to highlight Reboot System Now and press Power to confirm.
Bootloop
If you get stuck in a bootloop (your tablet won't go past the loading screen), then go back to recovery and do a factory reset and cache wipe.
To do this, turn your tablet off, press and hold Volume Down and Power to access the bootloader and if you have a custom recovery like CWM or TWRP, highlight Recovery Mode and press Power. You will be taken straight to Recovery Mode.
If you have stock recovery, you'll first see a screen with the Android robot laying on its back. Here you want to press Power and then Volume Up to access Recovery Mode. Once in recovery, you just need to select Wipe Data/Factory Reset (or however it is worded in your specific recovery) and confirm and then Wipe Cache Partition. Then you can reboot and you should be fine to load up as normal.
How do you find Android 5.1 on the Nexus 7 (2013)? Any bugs or special treats?

