How to make yourself a retro console for $50 in 15 minutes
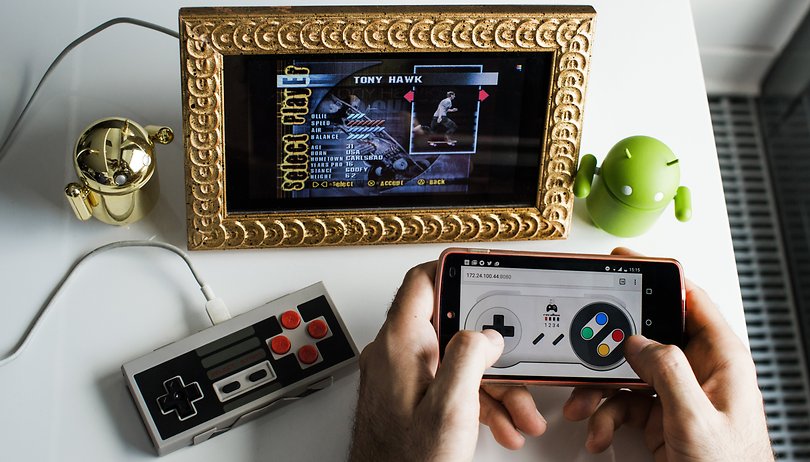

Having an entertainment center in your living room with every game you ever played as a child, is much easier than you'd think. Thanks to the famous ARM processors, a small computer can replicate more than 40,000 games and 40 consoles from the first console all the way to 32-bit consoles like the original Sony Playstation. What are you waiting for? It'll only take 15 minutes.
A retro console in your living room for only $50
We're going to start with the basic kit that will give you just enough to let you start enjoying consoles like Nes, Super Nintendo, Mega Drive, Game Boy, Atari, Game Boy, Master System, Sega Mega Drive, Nintendo 64, Sega 32x, Game Gear, Neo Geo and Arcade.
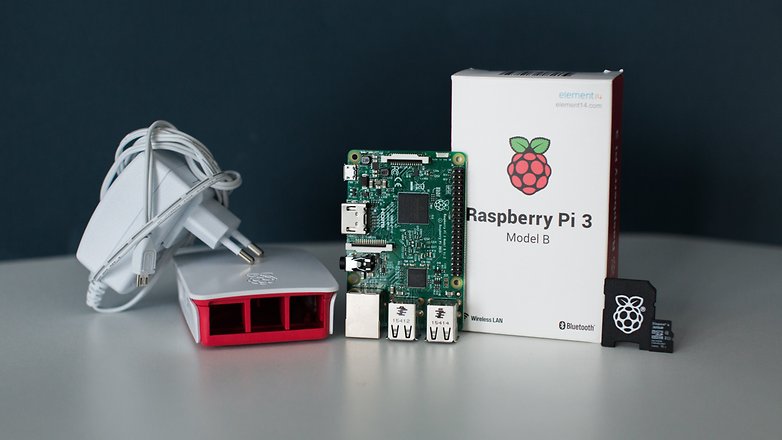
What you need:
- Raspberry Pi 3
- Raspberry Pi 3 case
- Power adapter with micro-USB 5.1V and 2 A (a Galaxy S5 charger for example)
- microSD card (16 GB or more is recommended)
You can buy an already complete pack with everything you'll need from Amazon. It's better to buy a Raspberry Pi 3 since it comes with Wi-Fi and Bluetooth already built in. That way we won't need a dongle or a network cable to connect the console.
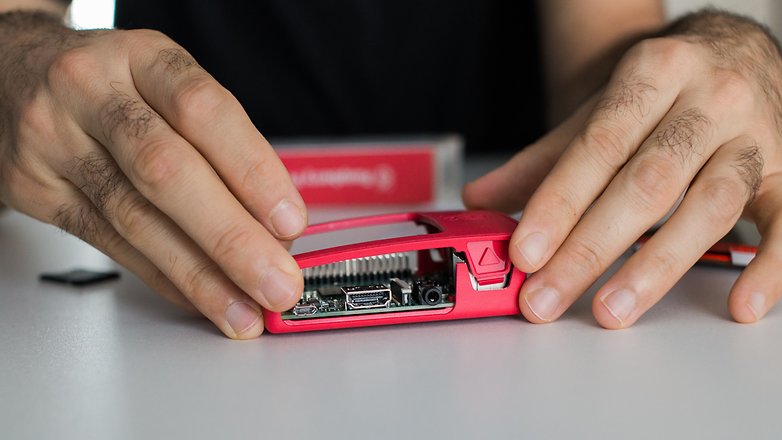
The pack comes with a clear case. You can also buy the shiny white-red one I used for my Raspberry Pi 3 separatly.
Preparation:
The first thing we need to do is to put the necessary software on the microSD card. We'll format the microSD on a computer that has official SD Association software, SD Formatter for Windows or Mac.
Now, we'll download the software that will run the emulators inside the Raspberry Pi 3: Recalbox. In order to download the latest version we'll need to visit Github of Recalbox and download the .zip file for the latest version. Here you can also find the manual for recalbox. By the way, the multimedia center Kodi also comes included in Recalbox.
Once it's downloaded, we'll unzip the file directly onto the microSD card. If you prefer, you can do it in two steps, first unzip the file onto your computer and then copy the content onto the card. In the end, we should have a few folders and files in the home directory of the microSD.
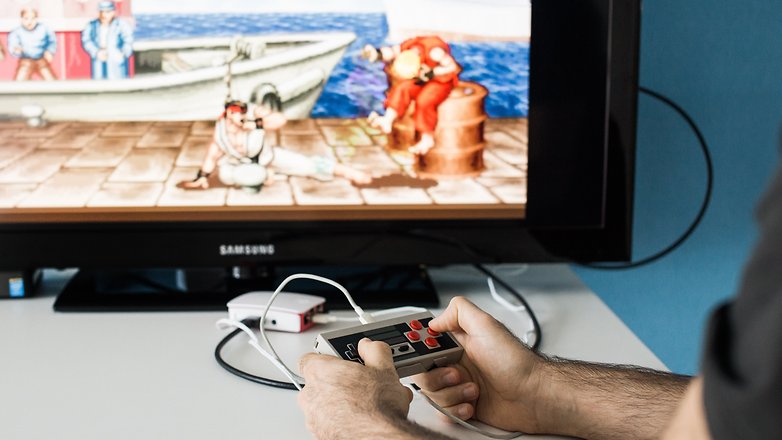
The microSD card is now ready and it can be inserted into the Raspberry Pi 3 that we previously put into its case. It's now time to connect it to your TV with an HDMI cable and after that, we can plug the power adapter in. The Raspberry Pi 3 doesn't come with a power switch so it will turn on as soon as you connect the microUSB cable.
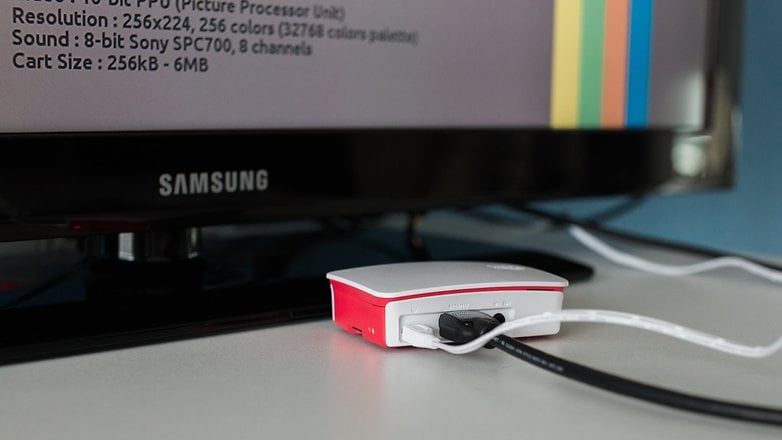
The first time we connect the system it will automatically install. It may need to reset so it could take a few minutes. When it finishes, everything will be ready to start playing. Recalbox comes with a few games but you can add more. You can use either a USB controller, keyboard or smartphone to control the unit.
Putting games onto a Raspberry Pi with Recalbox
The easiest way to get more games on Recalbox is by the Wi-Fi connection on your Raspberry Pi 3. In order to do this, we'll need to connect a USB keyboard to the Raspberry Pi. Go into the settings menu of Recalbox by clicking Enter.
If you need to change the language for any reason, go to System Settings > Language and move from side to side to choose a language. Go back by pushing A and the system will ask you to reset it. When it fires up again it will be in your preferred language.
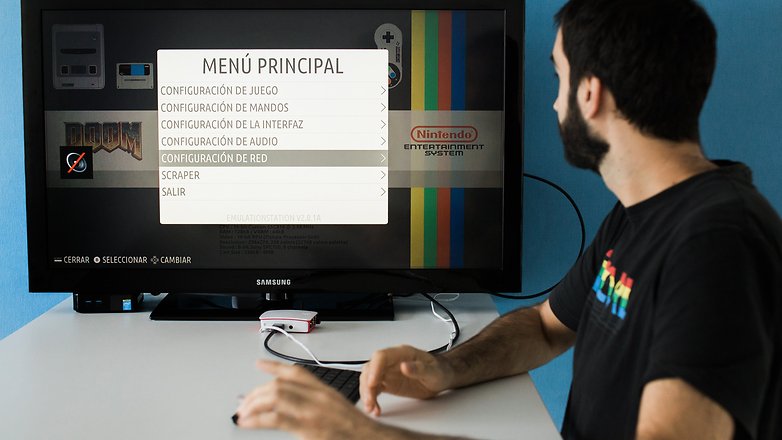
Go to the menu again and select Network setup. In Wi-Fi SSID you'll need to type the name of your network and then the password when it asks for it. On the top of the menu it will tell you your Wi-Fi connection status and the IP address, which you're going to need later on.
Once Recalbox is connected to your Wi-Fi, we can access it from a computer by searching for it in my network places or from a web browser by typing the IP address into the address bar. Both methods will take us to a folder called ROMS, which contains a folder for every console Recalbox emulates. Ordered by console, we are going to place every game ROM into the appropriate folder. Within each console's folder there's a file that explains which format the game ROMs need to be in.
Warning: Having a game ROM without having the original is illegal, only download ROMs for games that you have.
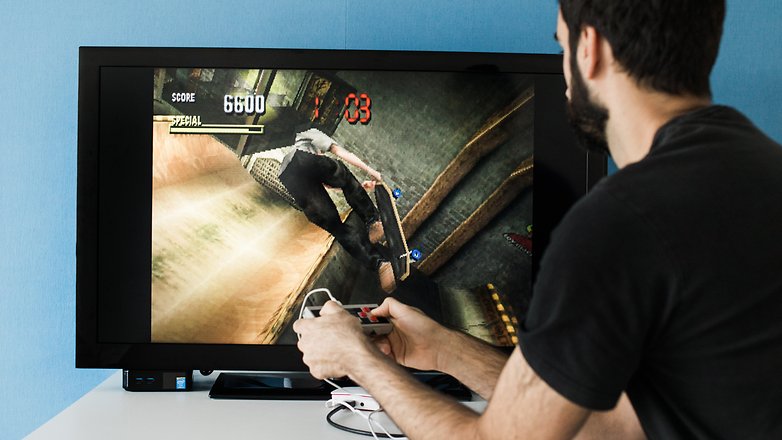
Using a smartphone to play on Recalbox
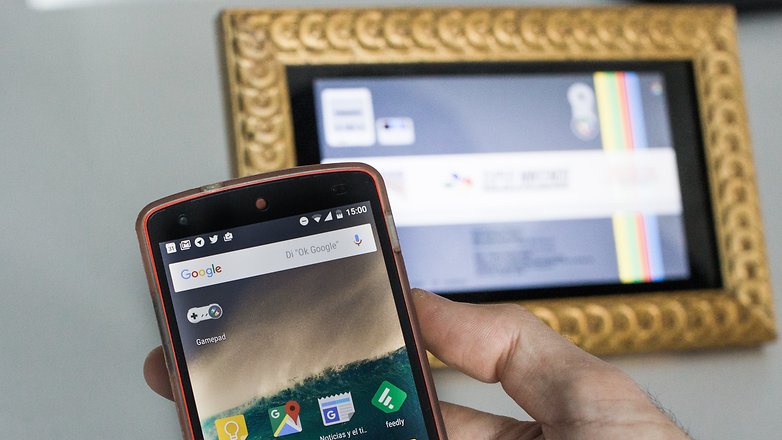
You can use either a USB controller or a smartphone to play and control Recalbox. Go into the web browser on your phone and in the address bar, type the IP address of the Raspberry Pi 3 that is running Recalbox. Scroll down and click on Virtual gamepad. A shortcut is to type the IP address into the address bar followed by two periods and the port 8080 (for example 192.168.1.155..8080)
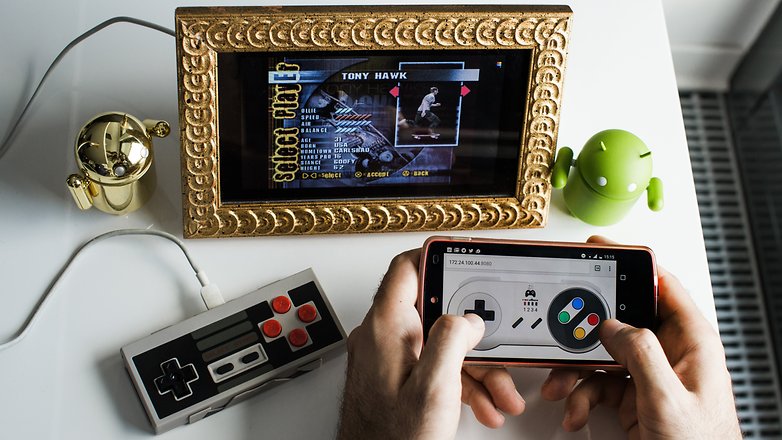
One piece of advice, save this page as a shortcut on your smartphone's home screen. In Chrome for Android, click on the three points to the right of the address bar and select Add to homescreen, name it and click Add.
Convert your retro console into a laptop
We have only seen the basic pack but the Raspberry Pi 3 offers much more than that. With a screen and a battery we can take the console with us anywhere we go. These are the extra items that we'll need to make it happen.
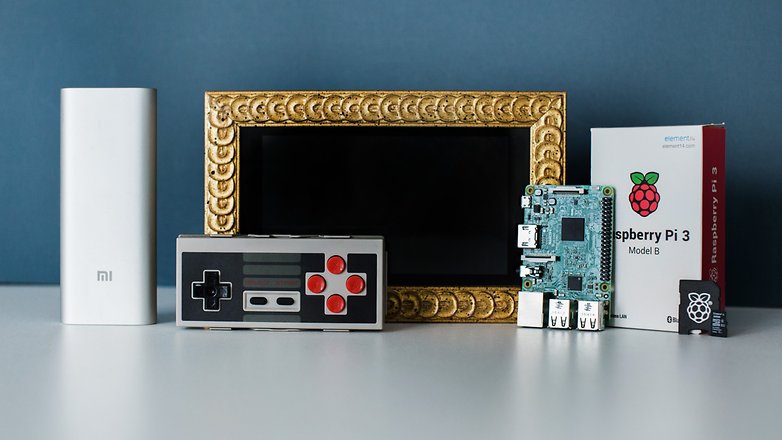
- Official Raspberry Pi 7-inch Touchscreen Display
- Powerbank with an output of 5,1V and 2,5 A
- A USB controller (without a local network we can't use a smartphone but you could create a Wi-Fi hotspot from your smartphone if you don't have a controller)
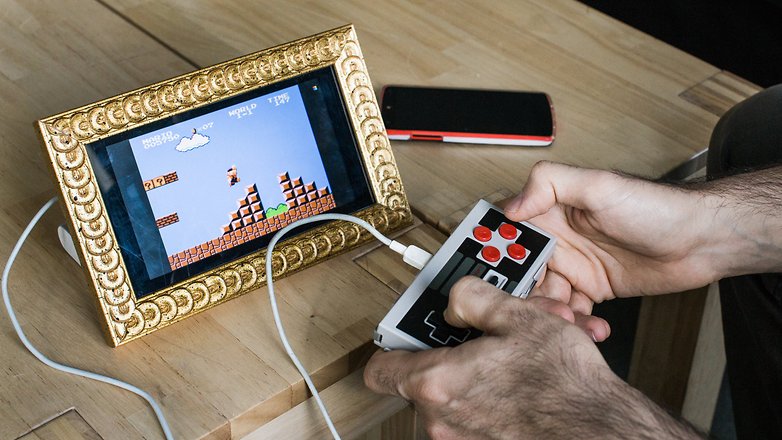
As you can see, I've put the screen in a homemade wooden frame. But what can I say? I'm a do-it-yourselfer. You can also buy frames on Amazon.
I decided to use a controller with both Bluetooth and a cable, although it’s a bit more expensive, it also works with your smartphone. Plus, Raspberry Pi 3 comes with Bluetooth and although Recalbox doesn't support it yet, I'm sure they will soon.
What are your favorite retro games?









Or RetroArch on your existing phone/tablet/TVbox and forget it. Free.
I'm sure it's easier doing it than the above mentioned article makes out.
Peace ?