How to add Rooms to the Home App and set up Zones
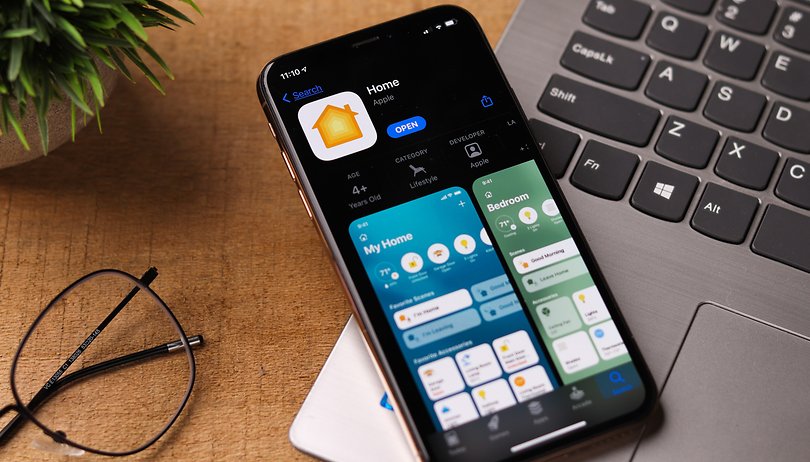

To automate your home using Apple's Home app, in addition to setting up accessories, you can create different rooms and zones so that you can control actions simultaneously. And that's what we'll show you in this tutorial on HomeKit.
- Related: How to create scenes in the Home app
How to add Rooms to the Home app
After adding your accessories to the Home App using your iPhone, the second most important action is to add rooms to Homekit so that you can separate each of the spaces in your home. To do this, simply follow the following steps from your iPhone or iPad:
- Open the Home app and tap the (+) Add icon.
- Tap Add Room.
- Now just give your room a name, choose the wallpaper, and Save.
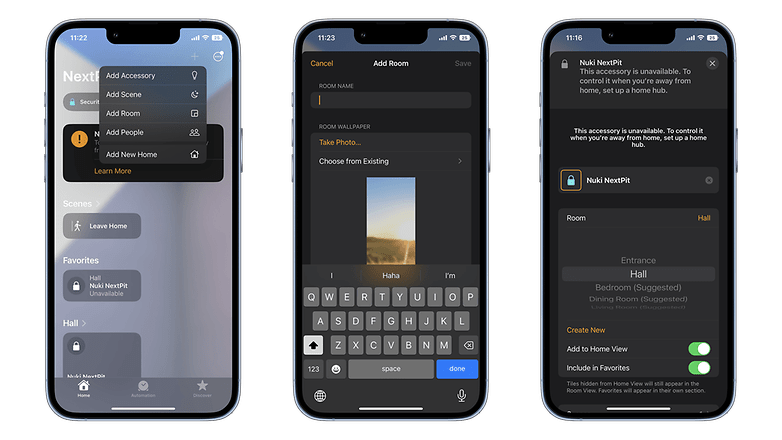
Once you've done this, you can now assign accessories to specific rooms and control your smart devices from their location. To navigate different rooms, open the Rooms tab and swipe right or left on the screen or trackpad.
- Also read: How to share access to your Home app devices
Grouping rooms into Zones
If your house or apartment has different more than one floor, using room grouping by zone can help you control rooms on the upper or lower floors, for example. With this, especially using voice commands, you can turn off all the lights in a zone at once, or stop playback of a playlist.
To organize the rooms in a zone, follow the step-by-step below using an iOS device:
- Open the Home App, and in the Rooms tab, tap or click Home, then select Room Settings.
- Tap on Zone. Now select a suggested zone or Create New and give the new zone a name.
- Tap OK.
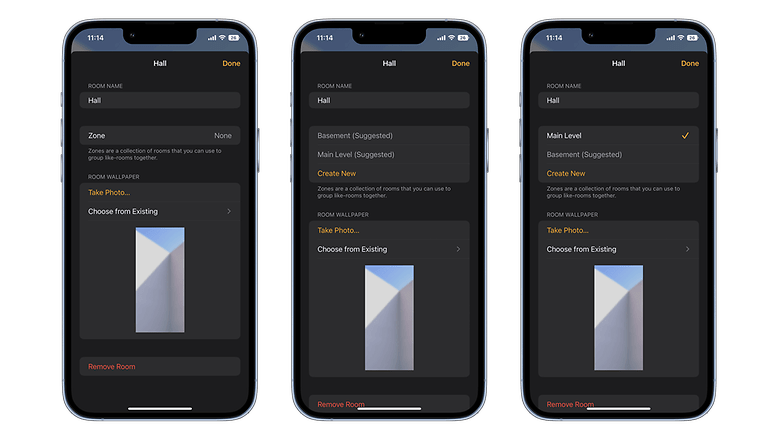
Of course, not all people need to organize their smart accessories into zones, as this will depend directly on the structure of their house or apartment. However, as your ecosystem of HomeKit products grows, organizing them into rooms will make it much easier to automate actions as basic as turning off the lights.
Source: Apple
