How to clear the cache on the HTC One (M8)
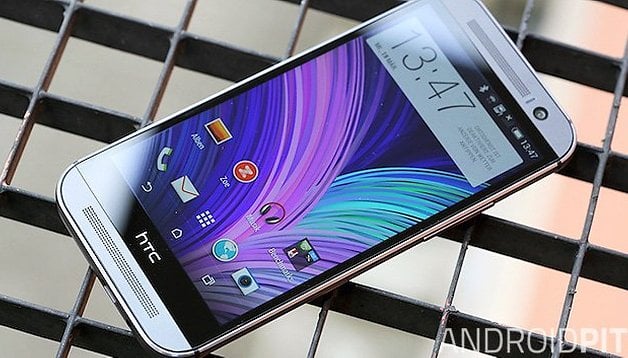

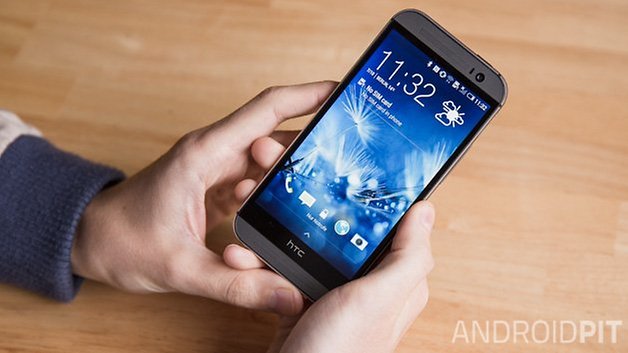
The HTC One (M8) is a great phone, but from time to time its performance can be less than stellar. Misbehaving apps, the odd error and good old-fashioned corrupted data can make it a little slower and less reliable than we’d like. That isn’t just an HTC problem, of course. It applies to any device that’s in regular use: over time things can get a bit messy, and the odd problem can creep in. The good news is that the fix is often very simple: all you need to do is clear the cache. Here’s how to clear the cache on the HTC One (M8).
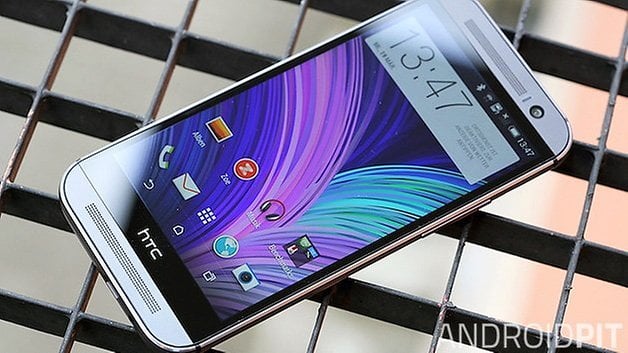
What the cache partition on the HTC One (M8) does
In nature, a cache is the place where a squirrel hides its nuts, and in smartphones and tablets the squirrel is Android and the nuts are temporary data files it needs to get the job done. That cache normally works fine with files being deleted when they're no longer needed, but it’s possible for the cache contents to become corrupted or for the cache to become overcrowded. When that happens, problems such as crashing and laggy performance can start to occur. Cleaning the cache on your HTC One (M8) simply gets rid of all the cache contents, leaving it shiny and new all over again, and in many cases that's all you need to do to get your M8 running happily again.
It’s worth noting that if your problem appears to be caused by a specific app - that is, the problem only occurs with one particular app - trying an uninstall/reboot/reinstall might solve the issue.
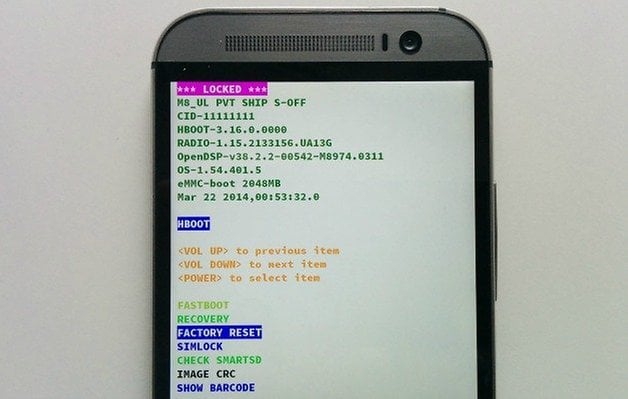
How to clear the cache on the HTC One (M8)
The method for clearing the cache on your HTC One (M8) is straightforward, safe and shouldn’t affect any of your files, settings or data. That said, it’s always a very good idea to backup your device before performing this kind of operation. Make sure there’s a decent charge in the battery, too, or connect your HTC to the mains before proceeding.
How to clear the cache on the HTC One (M8) in Android KitKat
To clear the HTC One (M8) cache on KitKat:
- Turn the phone off
- Press and hold the Volume Down key
- Press and release the Power key
- Keep the Volume Down key pressed until the three Android images appear
- Use the Volume Down key to select Recovery
- Press the Power button to confirm
- When you see the red triangle icon, press Volume Up and Power at the same time
- Use Volume Down to select Wipe Cache Partition
- Press the Power button to confirm your selection
- Wait until the phone tells you that the wipe is complete
- Use the Power button to select Reboot System Now
And that’s it. If your problem is still there after wiping the cache partition, you may need to perform a factory reset.
How to clear the cache on the HTC One (M8) in Android Lollipop
While some devices have different cache clearing options on Lollipop, that isn’t the case with the HTC One (M8): the process for clearing the cache is identical on HTC One (M8) devices running Lollipop, As with KitKat, all you need to do is to turn the phone off, boot it into Recovery mode and then use the Wipe Cache Partition option to clear the system cache on the device. Reboot your HTC when the process has finished.
What to do if clearing the cache on the HTC One (M8) didn’t solve your problem
Don’t despair. You aren’t out of options yet. If clearing the cache on your HTC One (M8) didn’t solve your problem, the next step is to try a factory reset. If you haven’t already backed up your important data, photos and other valuable information, do it now and make sure your Google account syncing is up to date too: a factory reset returns your device to factory-fresh condition so while it retains any Android updates you’ve installed, it wipes your data.
Have you found that clearing the cache partition makes your HTC One (M8) feel shiny and new again, or have you encountered problems that needed more effort to fix? Share your experiences, horror stories or tips in the comments!








Excellent makes a big difference
is it the same way with android 6?