How to clear the cache on the Nexus 4
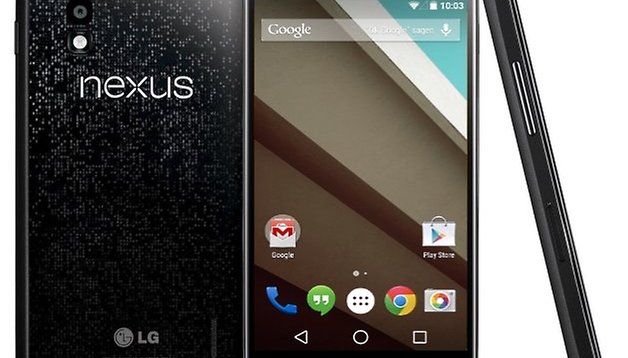

We love our Nexus 4, especially since Lollipop made it feel all shiny and new again. But like any device, over time performance and stability problems can creep in - and clearing the cache can fix them. Here’s how to clear the cache on the Nexus 4.
- How to factory reset the Nexus 4 for better performance
- Nexus 4 Android update news

Nexus 4: what the cache is and why it must be punished
Okay, punished is putting it a bit strongly. But when the cache goes bad, it can have a serious effect on the way your Nexus 4 behaves. Imagine your phone is a squirrel; the cache is where it keeps its nuts, which are the files and bits of data it needs handy to do its job. If the cache gets overly full or ends up in a mess, the squirrel goes nuts.
We’ll stop with the animal analogies now.
The point is, if you’re encountering crashes or performance issues with your Nexus, the cache may be the culprit. There are two kinds of cache, and the one you need depends on what problem(s) you’re encountering.
Nexus 4: clear the app cache to solve app-specific issues
The app cache is where an app stores its own temporary data and files, and it isn’t shared by other apps - so if one particular app is troublesome and everything else is okay, there’s a very good chance that the cache you need to clear is the app cache. Doing that couldn’t be simpler:
- Go into Settings > Device > Apps
- Scroll until you find the app that’s causing all your worries
- Click on the app name
- You have a choice now. Tapping Clear Cache will clear the temporary files but leave settings and user data intact. Clear data, as you might expect, clears the settings and data. If clearing the cache doesn’t work, that one’s step 2
Nexus 4: clear the system cache partition to solve system-wide issues
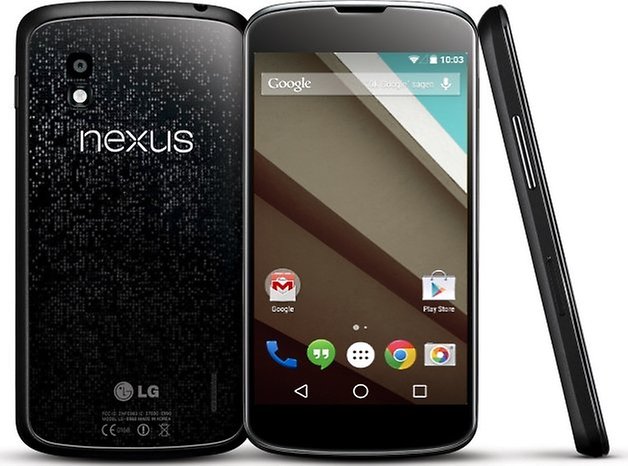
If your problems aren’t confined to a single app or appear to be happening at random, it’s quite possible that the problem lies in the system’s cache partition. Clearing that’s simple too, and as always make sure you’ve got a current backup of important files, settings, passwords and so on before attempting it. We’ve never had a cache clear go wrong but backup is something you should be doing anyway. Done it? Let’s go:
- Turn off your Nexus 4
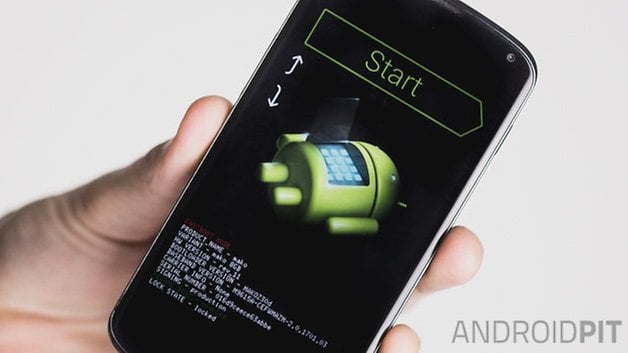
- Press and hold Volume Up, Volume Down and Power for around 10 seconds until you see an image of the Android robot lying on its back
- Press Volume Down twice until Recovery Mode is displayed
- Press Power to confirm your selection and restart your Nexus in recovery mode
- Wait until you see the Android robot with a red warning triangle on it
- Hold down Power and press Volume Up
- You should now see the Android System Recovery screen. Use the volume key to select Wipe Data Cache Partition and press Power to confirm your selection
- Wait for your phone to restart
If the cache was indeed the culprit, your Nexus 4 should now be behaving itself. If not, it might be time to perform a factory reset. That gets rid of everything bar Android updates, putting your phone into factory-fresh condition. The downside is that it also removes your data, apps and settings (although you can automatically restore most of it via your Google account afterwards).
Nexus 4: factory reset if cache cleaning didn’t help
There are two ways to reset your Nexus 4: via the Settings menu, or using the hardware keys. The first option is faster:
- Go into Settings > Backup & Reset > Factory Data Reset
- You might have to enter a PIN, pattern or password here
- Tap Erase Everything
- Wait a bit
To perform a reset via the hardware keys because your Nexus is frozen or you just really like buttons:
- Turn off your Nexus
- Press and hold Volume Up, Volume Down and Power for around 10 seconds until you see an image of the Android robot lying on its back
- Press Volume Down twice until Recovery Mode is displayed
- Press Power to confirm your selection and restart your Nexus in recovery mode
- Wait until you see the Android robot with a red warning triangle on it
- Hold down Power and press Volume Up
- You should now see the Android System Recovery screen. Move to Wipe Data / Factory Reset
- Use Power to confirm your selection
- Use the volume keys to select Yes - Erase All User Data. Use Power to confirm
- Select Reboot System Now and press Power to confirm
- Wait a bit
Have you found cleaning the cache to be a big help, or have you had to go nuclear with a full factory reset? Let us know in the comments.


















Actually, to clear cache on mobile phone, android data cleaner app is needed. Thanks a lot for your sharing.