How to clear the cache on the Nexus 7 (2013)


Cached data is great in theory: it lets apps and Android itself pull up information quickly. It's why loading up an app from the multitasking screen is much faster than running it from cold, because the app already has some useful data stored in the cache ready to be accessed quickly. Here's how to clear the cache on the Nexus 7 (2013).
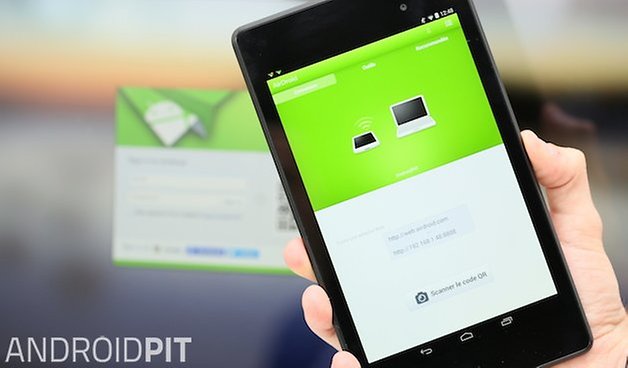
The cache doesn't always work as intended though, because bad code, bugs, crashes and system restarts can leave data clogging up the cache and slowing down your apps rather than speeding them up. Here's how to wipe the cache on your Nexus 7 (2013) and start again with a clean slate.
Clearing an app cache
Each app on your Nexus 7 (2013) has its own cache where it stores important data for quick reference. If the cache grows too unwieldy, or corrupted data makes its way in, it can become more of a hindrance than a help though, which is where clearing the cache comes in.
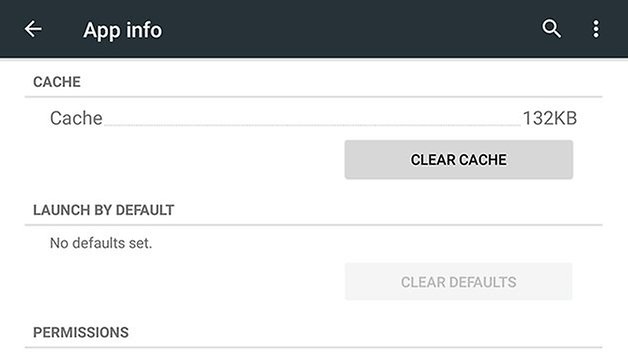
Head to the Apps page in Settings and tap through to an individual app page — you can see how much temporary app data is stored under the Cache heading. To get rid of it tap on the Clear Cache button.
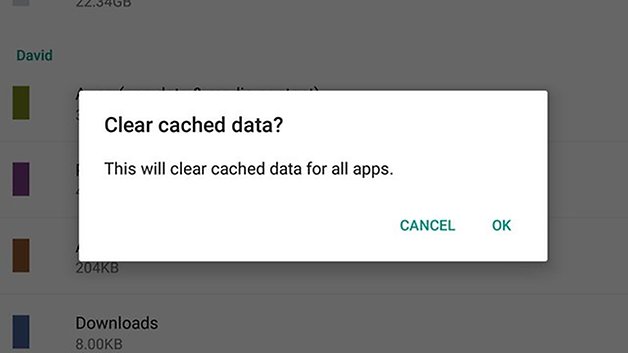
You can also opt to clear the cached data from all of your installed apps at once. Head to the Storage section of the Settings app then tap on Cached data — you'll be asked if you want to clear the temporary data store for all of the apps on your Nexus 7 (2013), so tap on OK to confirm.
This will typically erase temporary data inside your apps — like where you were up to in a playlist in a music app — but you shouldn't lose anything of significance. On some apps you may have to reconfigure a setting or two or reset a permission that the cache wipe has erased.
Clearing the system cache
You can also choose to clear the system cache, which serves the same purpose as an app cache but for Android as a whole. The process is slightly more involved but it's a good way of freshening up your tablet without losing any data, and it's handy for troubleshooting problems too.
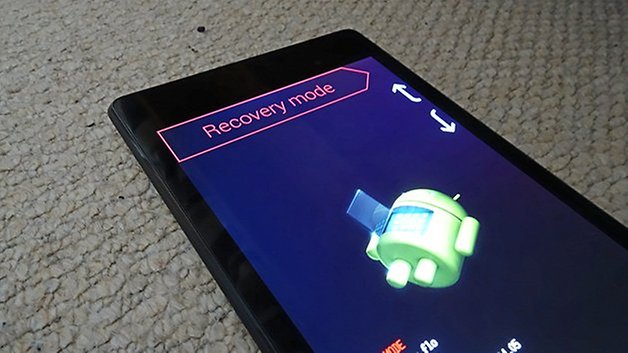
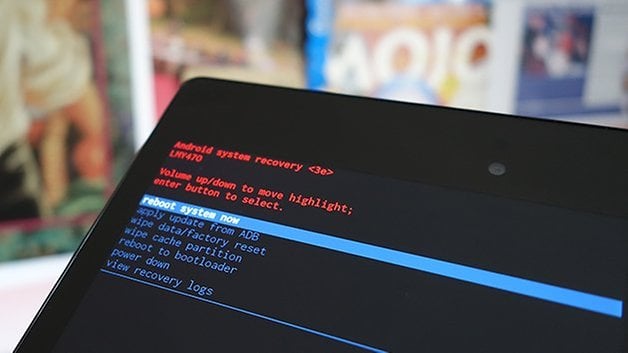
Power down your Nexus 7 (2013) tablet then hold down the Power and Volume Down buttons to access the bootloader menu (don't worry, we're not going to root your device or break it). Use the Volume buttons to get to Recovery mode, then press Power to confirm your choice.
When you get to the Android robot lying on his back with the message No command, press and hold Power and Volume Up for around three seconds, then let go of Volume Up. Choose Wipe cache partition from the list of options that appears. Once this is done, select Reboot system now.
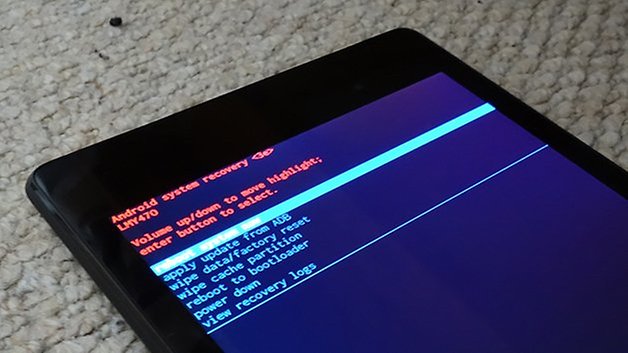
If you've installed a custom ROM on your tablet then the process will be slightly different — check the documentation supplied with your ROM of choice for full instructions, but there should be some option available to clear out the system cache and give your Nexus 7 (2013) a clean slate.







Besids the way you offered in the article, the android data cleaner program can also clean the cache on the Nexus 7. http://goo.gl/H1SeU2
Holding the volume up button and pressing power up button and holding with robot on his back in recovery mode does NOT work to get you into the old menu @#$%&*
Press and hold power button then press and hold volume up, release power button then volume up button. That should get you to the command menu, select wipe system cache.