How to do a screenshot on Android Wear
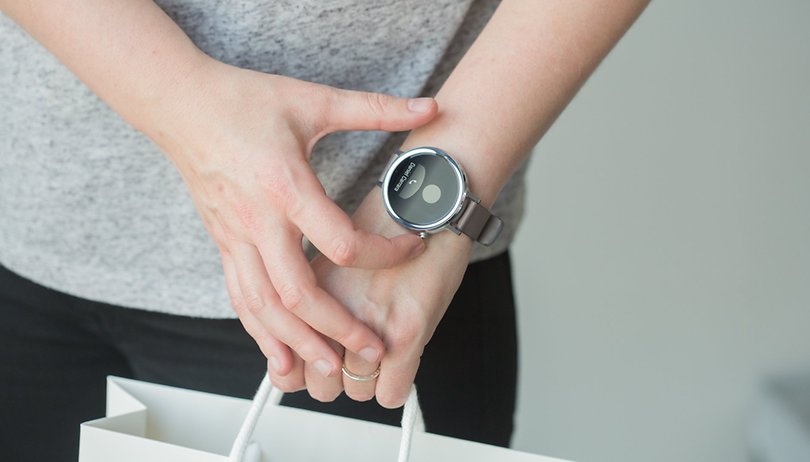

Looking for how to take a screenshot on your Android Wear smartwatch? Look no further, we have the solution here. It's actually a bit more complicated than taking a screenshot from a smartphone but fear not, it's still easy enough.
If you were among the forerunners to own an Android Wear smartwatch, you might know that taking a screenshot on Android Wear wasn't so straightforward. Indeed, you needed a PC, Android Wear SDK and also the ability to use ADB. So, understandably, many people just gave up.
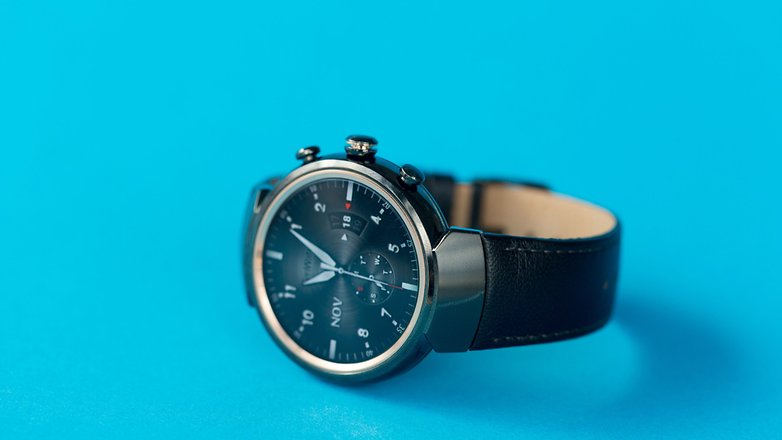
As Android Wear developed over time, Google's developers decided to make it easier and more intuitive for you to take a screenshot from your smartwatch. The latest version of Android Wear not only optimizes the stability of the system but also its fluidity.
What you'll need to take a screenshot on your smartwatch:
- The latest Android Wear version on your smartwatch
- The latest Android Wear version on your smartphone
- Activate developer options on your smartphone once the build number appears in the About section.
How to take a screenshot on your smartwatch:
Once the latest Android Wear version is installed on both devices, the procedure to take a screenshot is quite simple:
- Launch the Android Wear app on your smartphone
- Go to the Settings menu (accessible by pressing the three dots in the top right)
- Select "Take wearable screenshot"
- And that's it!
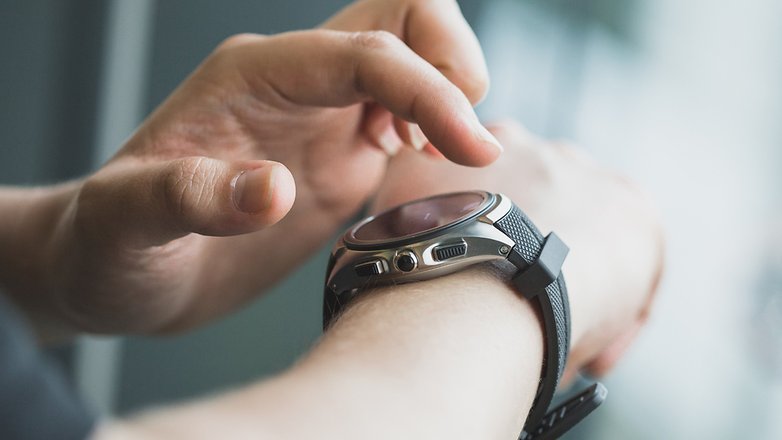
Once you've taken the screenshot, you'll get a notification on your smartphone. You can then share the screenshot and send it directly to other people through Bluetooth, Gmail, WhatsApp, etc. or it can be saved directly on the cloud.
Screenshots taken on your smartwatch are directly imported to your image gallery, usually under the name "screen.png". All that's left is for you to change the image name to whatever you want!
Do you think this is a good way to take screenshots? What do you use screenshots for? Let us know your thoughts in the comments section below.
