8 Night Photo Tips: Take Fantastic Smartphone Photos in the Dark
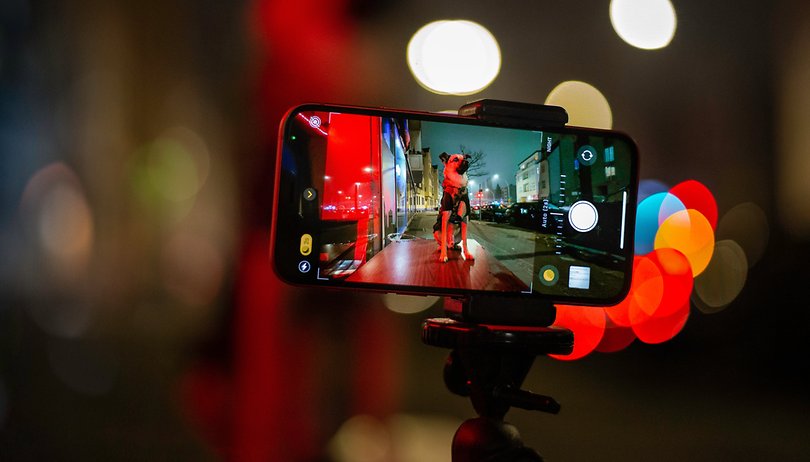

Thanks to modern algorithms and ever-larger image sensors, taking good photos at night with your smartphone is not rocket science. Whether using night mode, long exposure in manual mode, or astrophotography mode: we show you our best tips and settings to capture great photos in the dark.
The days of noisy and pixelated night shots from smartphones are over. With the legendary "Night Sight" mode in its third Pixel generation, Google opened the door to computational photography wide open. Six years later, pretty much every smartphone manufacturer has now walked through this door and includes at least a type of night mode in their smartphones. Here are five tips on how to capture the best photos out of your smartphone in the dark.
1. The theory behind good night photos: Sensor size and low light conditions
First, the good news: Not only has image processing algorithms used by smartphone cameras developed rapidly in recent years, it is undeniable that the software used in these cameras has also seen an improvement by having grown in size. Just a few years ago, 1/2.3-inch sensors were among the "giants", but light-sensitive chips have now grown to up to 1 inch. What does that mean in practical application?

As you can infer from the infographic above, a sensor in the 1/1.33-inch format offers more than twice the surface area of a 1/2.3-inch sensor. Doubling the area means double the amount of light output, translating to twice the quality (in theory). Apart from the shift towards larger sensors, there was another important development.
Night Photos and the Zoom Trap
Smartphones no longer feature just one or maybe two lenses these days, but three or four. With up to 100x zoom, manufacturers boast ultimate flexibility, from panoramas to capturing a bug on the tree. The problem with this? While the primary sensors have indeed grown rapidly, the chips installed behind ultra wide-angle and telephoto cameras are usually tiny. In particular, the "fair-weather zooms" with magnification that go tens upon tens also suffer from the notoriously low-light telephoto lens effect.
The consequence of this? If you were to capture photos using a telephoto lens in twilight using 5x zoom, you will be in for a nasty surprise later. Unfortunately, even the great computational photography algorithm could not save the pixelated mess from its own sensor, which is possibly only 1/3.2-inches (see above) in size with a tiny bit of glass in front of it. Some manufacturers, therefore, took the step to deactivate night mode on their 'weaker' camera modules.
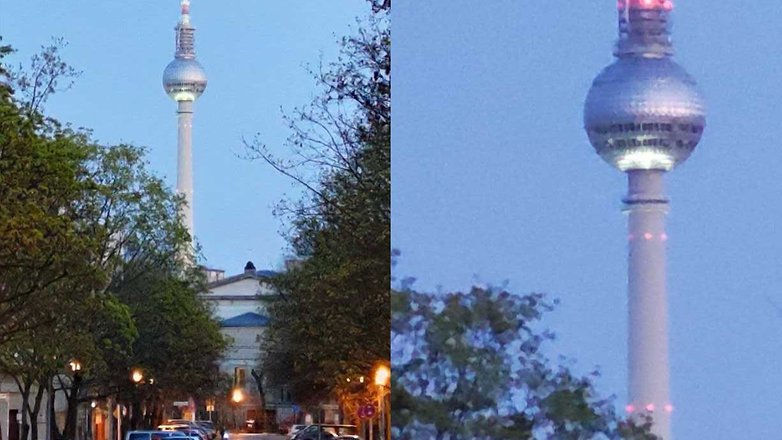
tl;dr: The best photos by far are always taken with the large main sensor in low light conditions. The other camera sensors always offer significantly worse results in terms of sensor area and aperture size. If in doubt, it is worth "zooming on foot" to achieve the desired image section using the main sensor.
- Smartphone camera aperture guide: What does f1.7 actually do?
- The 100x zoom fairy tale: Smartphone focal lengths and optical zoom explained
2. Good photos in the dark using the dedicated night mode
As mentioned at the beginning, almost every smartphone now has a night mode, but these work a little differently on individual smartphones and sometimes, they come with additional settings. In order to take good night pictures, you should definitely take a look at how your night mode works. We want to describe the typical differences between night modes and what you have to take into consideration before capturing your shot.
Multi-shot Night Mode (available on most current smartphones)
Actually, multi-shot night modes are not new. As far as ten years back, Sony DSLRs combined several shots together in order to reduce image noise. This was still considered to be a niche feature back then, but today, you'll find such a night mode on virtually every smartphone—and you should use it in difficult lighting conditions in almost any case, especially if you don't want to tinker around with the settings in Pro or Manual mode for long.
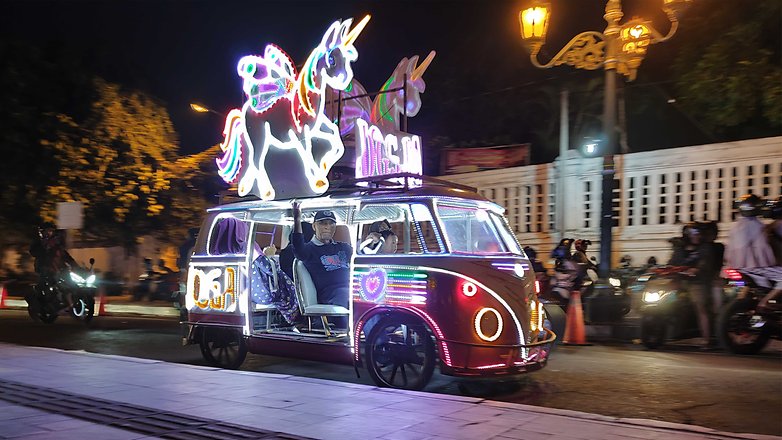
The shot typically takes anywhere from one to three seconds in addition to a similar amount of processing time—before the image is finally available to check. You will need to keep the smartphone as still as possible while shooting, and hold it steadily until the end of the exposure, because you'll normally be rewarded with less noise, a better amount of detail, and brighter exposure than in standard mode.

This is especially true when it comes to exposure as the manufacturers like to overdo it and try to make your night shot appear as bright as day. Tone the exposure compensation down a notch in order to keep the mood. Your smartphone doesn't have this in night mode? Then tap the AE/AF point on a bright area of the image, such as the candle that lights up your Christmas dinner, and the camera will do the rest.
Last but not least, you should also try out whether the night mode in your smartphone is susceptible to motion artifacts, i.e.: Are there ghost images when the subject moves in front of the camera? If so, you should use the standard photo mode for moving subjects, which usually only takes a single photo.
Night Mode with Tripod (including Realme, Oppo, and OnePlus)
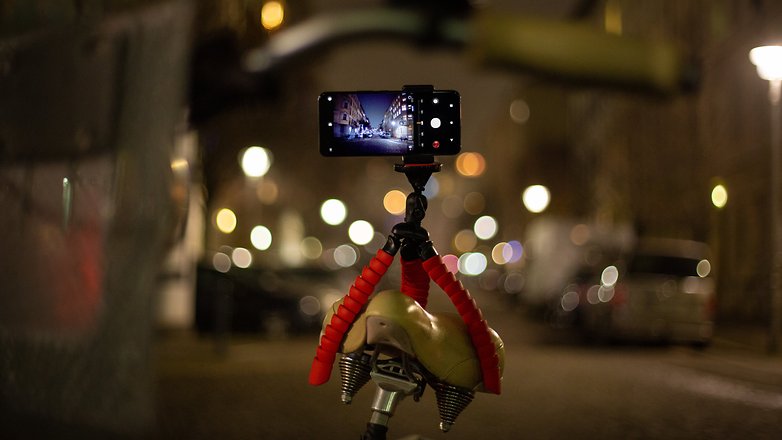
Many manufacturers, including Apple or those from the BBK group, offer the option of activating a tripod mode in night mode. This mode will only provide useful results if you actually place your smartphone on a tripod—or at least lean it somewhere, clamping it, laying it down, or holding it against a windowpane or wall.
One more tip: If you use a tripod, activate the two-second self-timer. This prevents the photo from being blurred by pressing the shutter release on the display or by pressing the volume button.
Your smartphone does not have a tripod mode? No problem! In the next section on manual mode, we'll show you how to take control of ISO sensitivity and shutter speed—and make your photos look exactly the way you want them.
tl;dr: Modern night modes are really helpful, but they have their pitfalls. However, if you understand how night mode works on your smartphone, you'll be able to avoid ruining your photos with motion artifacts.
3. Light painting, astrophotography, and others: Special modes for photos in the dark
If available, the "More" tab in many camera apps should feel as useful as the pre-installed Microsoft browser: If someone ends up here, it will be unintentional. It can be really worth taking a look at the remote corners of the camera app as there are some treasures buried here.
Light painting, fireworks, thunderstorms, and others
Many current smartphones hide a mode called "Light Painting" or "Long Exposure" here, such as found in Xiaomi or Honor phones. Both modes work in a similar manner: long exposures show moving objects as long, blurred traces. You can use a flashlight or a sparkler to draw great light trails in the picture or leave the work to passing trains or cars.
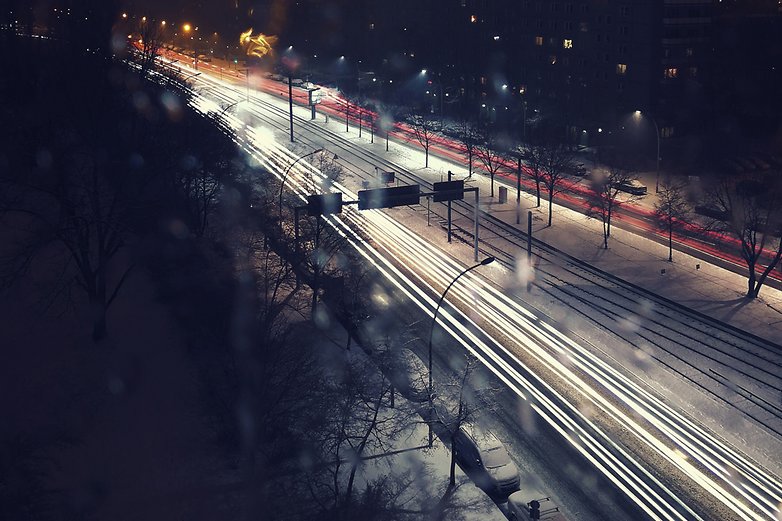
tl;dr: Many smartphones offer additional modes for night photography in the "More" section of the camera app. It's worth taking a look at the farthest reaches of the software.
4. Manual mode at night: Long exposure shots like a pro
If your smartphone doesn't have the corresponding mode for the desired effect on board, there's only one thing that helps: take control of it yourself. In manual mode or pro mode, you can adjust most of the photo-taking parameters yourself. Most important for night shots would be the ISO sensitivity and shutter speed. By default, both parameters are set to "Automatic" in Pro mode—so your smartphone usually configures them in such a way that the shutter speed is still sufficient for freehand shots and at the same time ensuring that a sufficient amount of light reaches the sensor.
Shutter speed
The most important parameter for creative nighttime shooting is the shutter speed. It determines how long the camera "collects light". The slower the shutter speed, the brighter the image. However, as soon as the shutter speeds become slower than 1/10 to 1/20 of a second, depending on the performance of the image stabilizer, it is no longer possible to take sharp pictures by holding it in your hands. In this case, you will need a tripod or you have to lean the smartphone somewhere or press it against a wall to keep it very still.
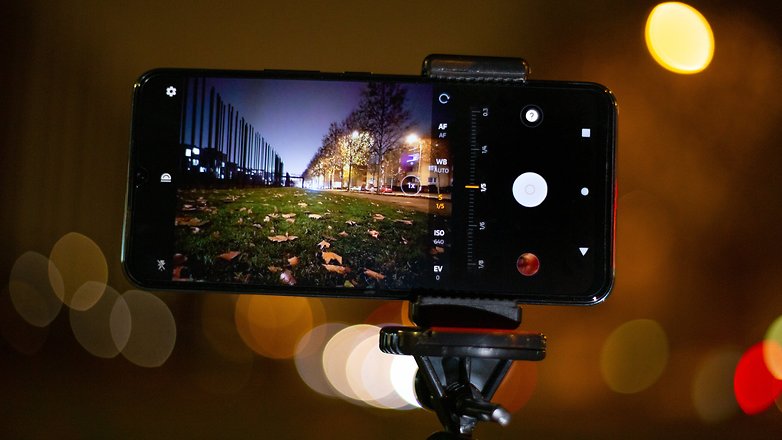
But why use slower shutter speeds?
- With slow shutter speeds, all moving objects become blurred. Passing cars, sparklers or the flashlight of another smartphone leave light traces in the picture. Dark objects disappear. The creative possibilities are endless. I recommend a Google image search for "light painting".
- The slower the shutter speed, the longer the time the smartphone can collect light. More light means less sensitivity means less noise—and that brings us to ISO sensitivity.
ISO sensitivity
The ISO value determines how much your smartphone amplifies the captured photo. The higher the ISO value, the brighter the image. At the same time, however, a stronger degree of brightness also means more image noise. When it comes to the ideal image quality, ISO values should be set as low as possible.
Since the aperture is fixed on most smartphones, the ISO sensitivity together with the shutter speed controls the brightness of the image. Is your smartphone overexposing the photo at your desired shutter speed with the ISO value set to "Auto"? Then select a lower value manually.
If your smartphone doesn't allow manual adjustment of ISO sensitivity, there are several apps available, such as Camera FV-5 Lite (Android) or Pro Camera (Apple).
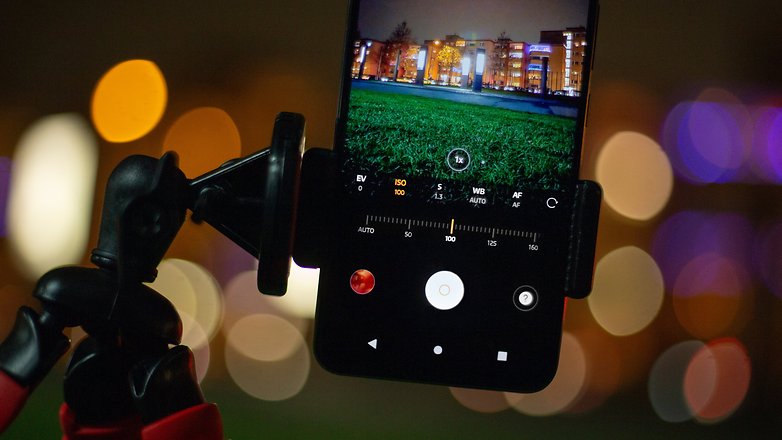
tl;dr: In manual mode, you take control of the resulting image. This is especially true when it comes to complex scenes or very precise ideas that you have about the resulting photos, where no automatic system can keep up.
5. You need to know these four bonus tips for good night photos
Last but not least, I would like to share four general tips for better night shots with you.
1. More light for better photos
As you have read above, you can improve image quality by using low ISO sensitivities. Logically, this not only works with longer shutter speeds, but also with more light, which can be added to the subject by using additional light sources.
The smartphone's integrated photo LED is always available here. Most smartphones now come with several LEDs to match the color of the flash to the ambient light. This is usually quite effective in preventing color casts, and the pictures look harmonious but when the flash is fired from the camera's line of sight, all shadows are lost—and thus the subject often appears very two-dimensional and literally "flattened". Therefore the built-in flash should only be used as a last resort.

In most cases, however, there are also other ways of providing more light. If you photograph something that moves, change the location. For a portrait, take a few steps with your model. Illuminated shop windows, advertising signs, or neon lettering provide great light for night shots. Also, learn to play with the direction from where the light comes from.
2. Enable RAW recording
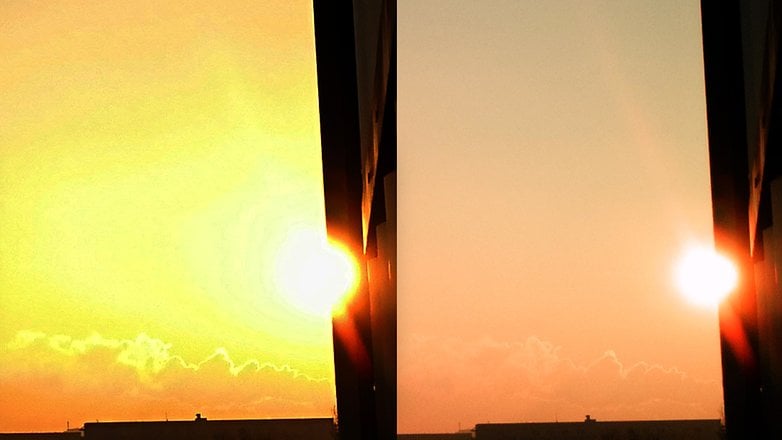
Most smartphones also enable the RAW function to be activated in Pro mode. This is definitely worthwhile, as the photographs saved in the RAW format offer more freedom in image processing later on. Fret not—the processing of RAW photos also work on the smartphone without any problems, for example, on apps like Snapseed. There are other alternatives you can check out here:
3. Clean the lenses
As trivial as it may sound, really, give the lenses of your smartphone camera a nice wipedown before every photo opportunity. This is especially important at night, as dirty lens results in heavy streaks around light spots and ruins your pictures. You don't even need a fancy microfiber cloth—it's enough to wipe the camera lens with a t-shirt, blouse, or sweater.
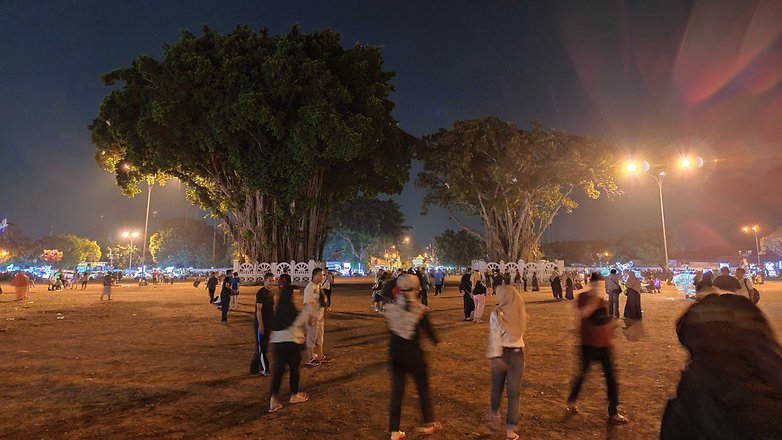
4 Better too many than too few photos
The risk of camera shake is always high, especially when taking night photos. Therefore it is better to take too many photos of each subject than too few. You can always delete the redundant photos later. But if you have taken only a single blurry photo and notice it afterwards, there is no chance of having it corrected.
Conclusion
There are numerous ways to take great photos with your smartphone, even in poor lighting conditions. As with photography in general, I can only advise you one thing here: Take your time to try different things out. Get to know the settings of your camera app in detail. And above all, take lots of pictures. It's not by reading such articles you will be a better photographer, but taking photos yourself.
Note: This article was last updated in December 2024. Comments contained may therefore refer to content that no longer exists.







Thanks for the tips...
I've a Huawei P30. The main advantage of night mode for me is that I don't use flash any more. Which allow me to take pictures at night in a public space without boring other people. Taking pictures in a city at night without flash is nice too.
-
Admin
Dec 15, 2019 Link to commentIt all boils down to a very simple thing: to take good photos you will need a real camera.
2 things have helped me take better pictures at night:
A gimbal (aka handheld tripod)
A 2nd source of LED light ( ie such as a small flash light)
A beautiful proverb in the photo world says:
A good photographer is the one who manages to take pictures in bad weather too.
Even though camera performance on phones has not reached the level of DSLR cameras, yet we're talking about two completely different areas, the evolution of cameras on "small" devices is great, reaching a very high level of quality.
For most users, shooting on "Auto" mode is enough, with newer intelligence mode supported. The results are spectacular, and they enjoy everyone.
Mobile photographers, because we can already say that this category of photographers is now, will look for the most suitable angles and reflections of light, the "sun only" rule being totally ignored, and even used exactly the other way around. In the photographic field, it's called shooting against the light. With a little spin and after some experience, surprising results can be obtained.
In terms of low or dark light photography, where the sensor performs best, photographers will prefer manual exposure mode: the most beautiful photos are obtained with long shutter speeds, similar to those in the " heavy "in the upper category.
I recommend anyone to test new shooting modes, capture exciting scenes and find new ways of expressing.
Leave your imagination Free !
"The light-sensitive area in most sensors that are integrated in smartphones is roughly 15 to 30 mm². In comparison: Full-format image sensors from our editor’s DSLR camera have an area of roughly 860 mm² – that is 30 to 60 times more."
THANK YOU!
I wish more people understood the physics required, to take a photo. If the sensor can't see it, it can't save it.
I get so tired of sites that say "photos as good as a dSLR".
Thanks for Article
The picture shoot by Mate 9 above is fabulous and impressive!
thanks for article
I currently use my photo gorilla pod and use my selfie stick holder on it to hold my phone to take difficult night shots. I also use any flat surface as well. But I have to say that not all phone sensors and apps work well for night shots. My phone has a night shot mode and it doesn't really do that great of a job so I've resorted to using the manual mode. I also just started using the open camera app and need to play around some more with it and compare shots from my stock camera app but I do like it. Thanks for sharing this info.
Glad to know the info was useful for you!
Quite informative. Thanks Stefan!
Good basics about the three exposure variables: ISO, shutter speed and aperture. Simple camera apps limited to "Auto" exposure will ratchet up the ISO and spoil low light shots, if so it pays to install a good third party app for control. I bought Camera FV-5 years ago, it's excellent but the "Lite" version is seriously crippled and FV-5 doesn't support video. The most complete free camera app right now is Open Camera (Mark Harman) - but camera GUIs differ a lot and it's worth testing free versions of highly rated ones and buying the most personally comfortable. (A big benefit of third party camera apps is they'll follow the user to new or different phones, no time wasted learning changing OEM stock apps.)
UPDATE: I was surprised to find the excellent free Open Camera requires Camera2 API for slow shutter, while paid Camera FV-5 will do 30 seconds on any Android 5+ phone.
One small tip about slow shutter speeds is to set several seconds of delay between the shutter press and activation. Even on a tripod, the camera movement from a finger can blur the shot.
Thanks for the tips, Albin!
Very nice write up, I enjoy articles of this sort a great deal. Thanks.