Samsung Galaxy Watch 6 or 5: How to Use Blood Pressure Monitoring
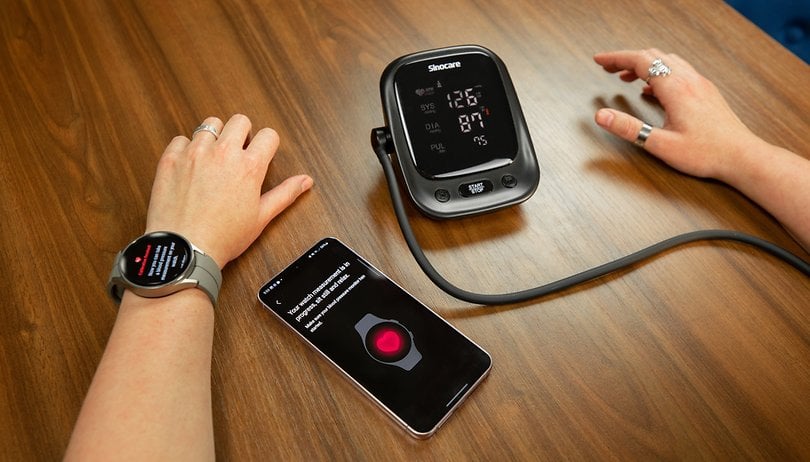

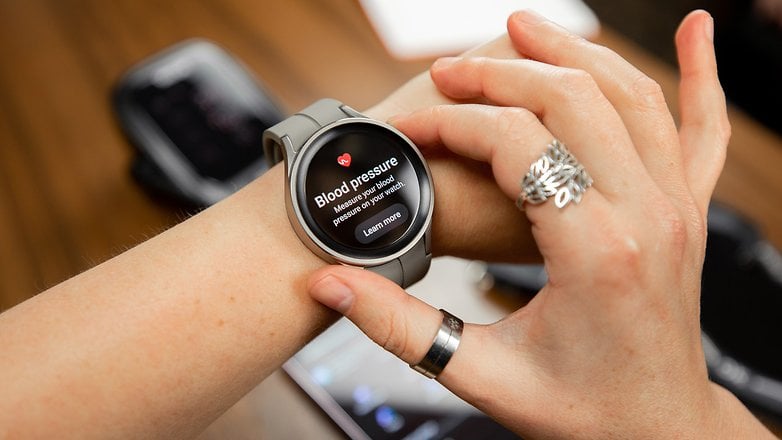
Samsung introduced blood pressure monitoring with the Galaxy Watch Active 2. They have so far improved the on-demand feature on the Galaxy Watch 4, Galaxy Watch 5 series, and the latest Galaxy Watch 6 (review). nextpit shows you how to easily set up and use the BP tool to generate readings on right on your smartwatch.
Smartwatches have evolved to rival smartphones in terms of capabilities, with their key advantage being the comprehensive health and fitness tracking features they offer. Specifically, heart rate and blood pressure monitoring play a vital role in helping users enhance their well-being or identify potential health concerns.
However, accurately measuring blood pressure using a watch has become a challenge for most brands. Thankfully, among those who were able to pull it off and bring the feature to consumers' wrists is Samsung. With the new Bioactive Sensor, the company has enhanced BP monitoring on the Galaxy Watch 6, Watch 5, and Watch 4 series for more accurate results.
In the following guide, you'll discover a step-by-step process for swiftly setting up the feature, understanding its requirements, and learning about its compatibility.
How to calibrate the Blood Pressure Monitor on Samsung Galaxy Watches
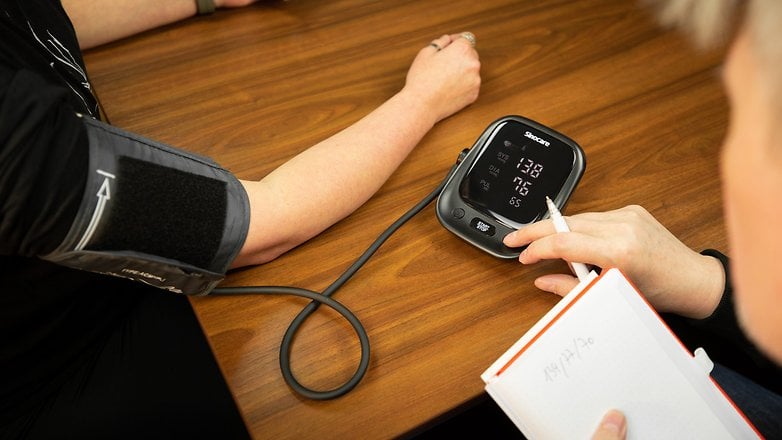
Before using the blood pressure monitoring tool, you will need to calibrate the Galaxy smartwatch using a traditional blood pressure cuff. Digital BP monitors are recommended but using analog types with a manual pump is also possible as long as you're able to correctly record the systolic and diastolic numbers.
Additionally, the Samsung Health Monitor app should be installed on both the Galaxy Watch and Galaxy smartphones. On the recent Galaxy Watch 5 (Pro) we reviewed, the app should arrive preloaded in most regions.
- Snugly fit the Galaxy Watch on your wrist and the traditional monitor on the opposite arm.
- Open the Samsung Health Monitor app on your watch and select Blood Pressure.
- Follow the next instructions on the screen of the smartwatch and tap the option Open phone app when it prompts in the display.
- On your smartphone, choose Continue calibration and follow the remaining instructions.
- Press Start reading on a traditional blood pressure monitor.
- Subsequently, your watch will automatically begin its monitoring.
- Once that is done, enter the Systolic and Diastolic values on your smartphone.
- Start the next reading and input the second set of values.
- Finish the calibration process on your smartphone.
Samsung notes that your calibration will expire in four weeks. After it, you are required to perform the same recalibration process to utilize the blood pressure monitoring feature again.
How to use Blood Pressure Monitoring on the Samsung Galaxy Watch 6, 5, or 4
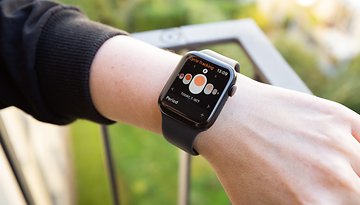
Once your Samsung Galaxy smartwatch is calibrated, you can access the blood pressure monitoring feature to measure your BP right on the Samsung Health Monitor app.
More importantly, it is necessary to follow the given instructions before initiating a reading. For instance, it is recommended that you need to be in a relaxed state and your arm should be resting on the table and near the height level of your heart.
- Go to your watch's app Menu.
- Open the Samsung Health Monitor app.
- Select Blood Pressure.
- Tap the Measure button.
- Wait for the process to finish, and you will be presented with a systolic/diastolic (mmHG) reading.
When properly calibrated, the blood pressure monitoring results on the Galaxy Watch 5 can closely match the values you receive from a traditional blood pressure monitor. Users can view the results and history in the Samsung Health Monitor app on the smartphone as well.
Availability of Blood Pressure Monitoring: Countries and Watch models
Blood pressure is found in the Samsung Health Monitor app, which is available in more than 30 countries at the time of publishing. If you're not residing in any of the listed places, you won't be able to use the feature. There is no information from Samsung on when it will expand to the U.S. and other regions.
| Countries where the Samsung Health Monitor is available | ||
|---|---|---|
| Austria | Australia | Brazil |
| Belgium | Bulgaria | Chile |
| Croatia | Czech Republic | Finland |
| France | Georgia | Germany |
| Greece | Hong Kong | Hungary |
| Iceland | Indonesia | Ireland |
| Italy | South Korea | Latvia |
| Lithuania | Malaysia (soon) | Netherlands |
| Norway | Norway | Poland |
| Portugal | Russia | Romania |
| Slovakia | Spain | Sweden |
| Switzerland | Thailand | UAE |
| UK | Philippines | |
In terms of compatibility with Galaxy Watches, the blood pressure monitoring feature is not available on every model. This advanced health-tracking capability is supported on a select range of devices, ensuring that users have access to accurate and reliable information about their blood pressure.
By investing in a compatible Galaxy Watch model, users can benefit from this essential feature and take better control of their health and well-being. As for compatibility with Galaxy Watches, blood pressure monitoring is supported on the following models:
- Galaxy Watch Active 2
- Galaxy Watch 3
- Galaxy Watch 4
- Galaxy Watch 4 Classic
- Galaxy Watch 5
- Galaxy Watch 5 Pro
In conclusion, remember that paying attention to blood pressure is crucial for maintaining overall health and well-being. Elevated blood pressure, also known as hypertension, can lead to serious health issues such as heart attacks, strokes, kidney disease, and even vision loss.
Monitoring blood pressure regularly helps individuals detect early signs of hypertension or other irregularities, enabling them to make necessary lifestyle changes or seek medical intervention. This proactive approach not only helps prevent the development of life-threatening conditions but also promotes a better quality of life and long-term health. But also keep in mind that it's crucial to monitor your blood pressure with the assistance of your doctor.
Do smartwatches play a significant role in your daily life? How do you utilize wearables to enhance your well-being? We'd also appreciate your feedback on this tutorial.
