How to Take a Full-Page Screenshot on iPhone and iPad
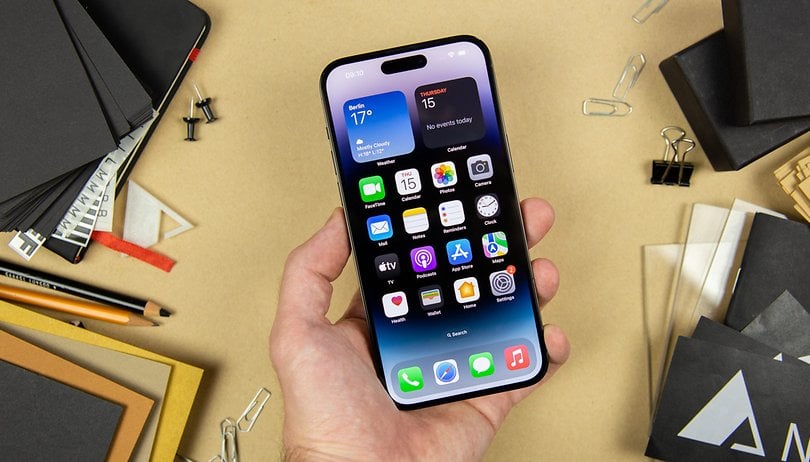

Taking full-page or scrolling screenshots of webpages and documents has long been a built-in feature on iPhones and iPads. However, this feature was previously limited to saving these screenshots as PDFs, not as images. Now, with the latest iOS 17 update, Apple has enabled screenshots to be saved directly to your gallery as photos. Here are multiple ways to utilize this feature.
Apple rolled out the public beta of iOS 17 and iPadOS 17. Along with the set of features already announced back at the WWDC 2023 event, Apple also introduced smaller improvements like the ability to save full-page or scrolling screenshots of pages, emails, or documents as images on your iPhone or iPad. It is even available on MacBook through macOS Sonoma.
- Also read: How to take screenshot on your Apple Watch
How to take a full or scrolling screenshot on iPhone and iPad
Saving scrolling screenshots to photos is similar when taking a regular screenshot on your Apple device and saving them as documents. However, the method is different for iPhones and iPads that come with the older home button compared to newer models like the iPhone 14 that ship with Face ID.
Below are different ways to take a screenshot, including the use of Siri voice command. The feature is also available on MacBook laptops that run on macOS Sonoma.
Capturing scrolling screenshots on iPhones and iPad with Face ID
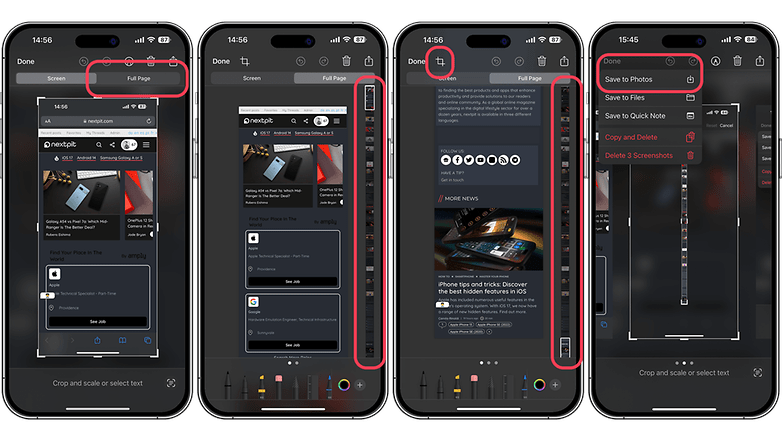
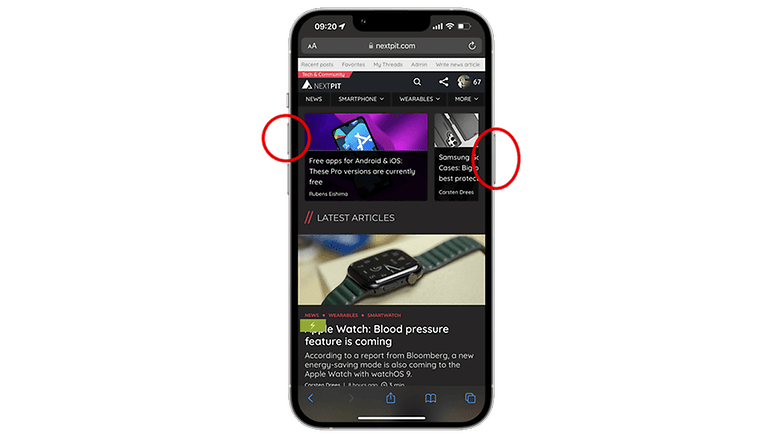
If your iPhone does feature a Face ID, the basic and most popular way is through pressing the volume up and power key simultaneously. This is how to do it and then save the screenshot as photos:
- Unlock your iPhone or iPad.
- Go to a current webpage on your browser, email, or document.
- Press the volume up and side key (power key on iPad) simultaneously, and quickly release both.
- Tap the thumbnail preview to edit the screenshot and see more options.
- Choose the Full-Page tab.
- You need to manually crop the image to save it in to Photos.
- Tap the Done button and select Save to Photos.
Capturing scrolling screenshots on iPhones and iPad with Touch ID
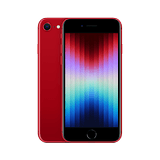
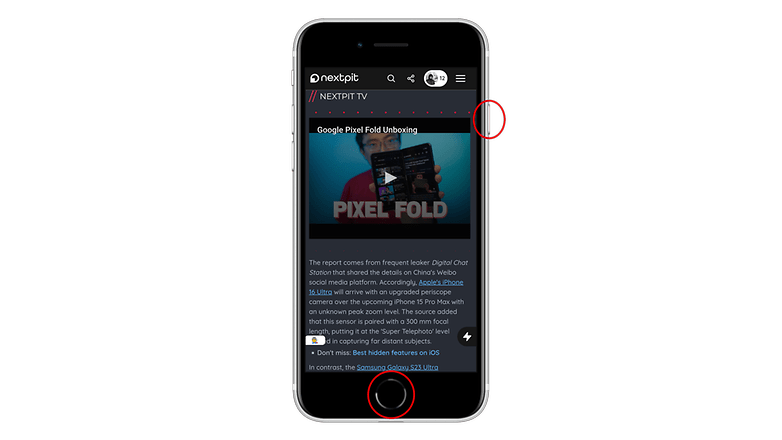
For iPhones equipped with Touch ID, such as the iPhone SE 3 (see review), the home button serves the same function as the top or side key, varying based on your specific model. Thus, all steps—ranging from how to preview the screenshot to saving it on your device—are similar. The same process applies to older iPad tablets that feature a home button
Other ways to take screenshot on iPhone or iPad
Beyond the combination keys when taking scrolling screenshots, there are other ways you can capture the current view or entire screen of your iPhone or iPad. The most straightforward is by using Siri voice command in addition to activating the assistive touch virtual button and creating shortcuts.
Hands-free capturing of screenshot on iPhone or iPad via Siri
Siri can also be utilized to capture the current view of your device, which is a hands-free process. All you need to do is summon Siri and give a direct prompt. The thumbnail will then appear where you can tap it to edit or save the screenshot into photos or documents.
- Long press the power key or home button on the iPhone or iPad.
- Once Siri appears, give a voice command such as take screenshot.
- Tap the thumbnail or preview to edit or save the entire screenshot.
Use the assistive touch button to take a screenshot
If you want to use assistive touch to capture a screenshot, you will first need to activate it from the Settings > Accessibility > Touch. Subsequently, you can program one of the different actions and assign 'take screenshot'.
Triggering the equivalent action on the virtual button automatically captures the current view of your device. Alternatively, tap the preview thumbnail for more options.
Double or triple tap the back for iPhone
Another accessibility feature that facilitates screenshot capturing is with the Back Tap. The same with the Assistive touch, it needs to be enabled from the settings. You will then pick from the double tap or triple tap and then assign the screenshot action to either gesture. This works on any screen view of your iPhone.
Create a shortcut action to take a screenshot
Regarding the Shortcuts, you'll first need to create a new shortcut from the app and assign the 'take screenshot' action. You can add the new shortcut to your home screen or as a widget. But unlike other methods of capturing screenshots, Shortcut has a limitation to the current screen where the shortcut is located.
Which method do you use when taking screenshot on your iPhone or iPad? Tell us your answers in the comments.
Source: Tech Crunch

