Three tips for better portraits with your smartphone's bokeh mode


A sharp foreground with a soft background: Though the quality of the implementation is arguable, smartphones are getting better at imitating the technical tricks and effects of DSLR cameras. Here are three tips to help you take full advantage of the portrait, or bokeh, mode of your smartphone.
We have already written in detail about what bokeh actually is and how bokeh effects on smartphones work. Here's just a brief recap: Digital bokeh effects are always based on your smartphone's foreground and background being distinguishable from each other. This makes it possible to blur the background, while the subject in the foreground remains sharp. Voila, the photo looks like it was taken by a SLR camera...maybe.
Tip 1: The right distance between the subject and background
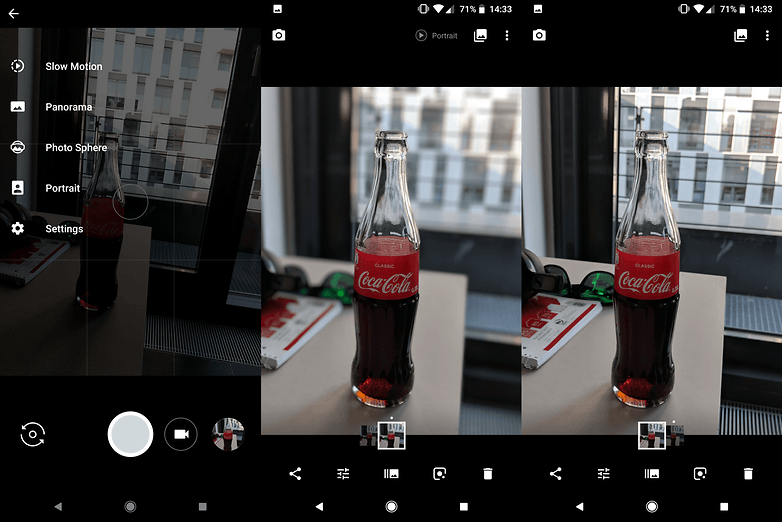
Of course, the first thing you need to do is activate the background blur, or bokeh, mode. This can be found either directly on the viewfinder screen of your camera app or in the settings menu with the various recording options. If you do not find a bokeh function, it may be hiding in plain sight under the name of "portrait mode".
To make sure your smartphone can distinguish between the background and the subject, make sure the distance between them is at least six and a half feet (or two meters).
For portraits, the ideal distance between the photographer and the subject is somewhere between 20 inches and six and a half feet. For smartphones like the Galaxy Note 8 or iPhone 8 Plus, with an additional telephoto lens, the portrait mode might require a bit more.
Tip 2: Stumbling blocks: Eyeglass lenses, window panes, etc.
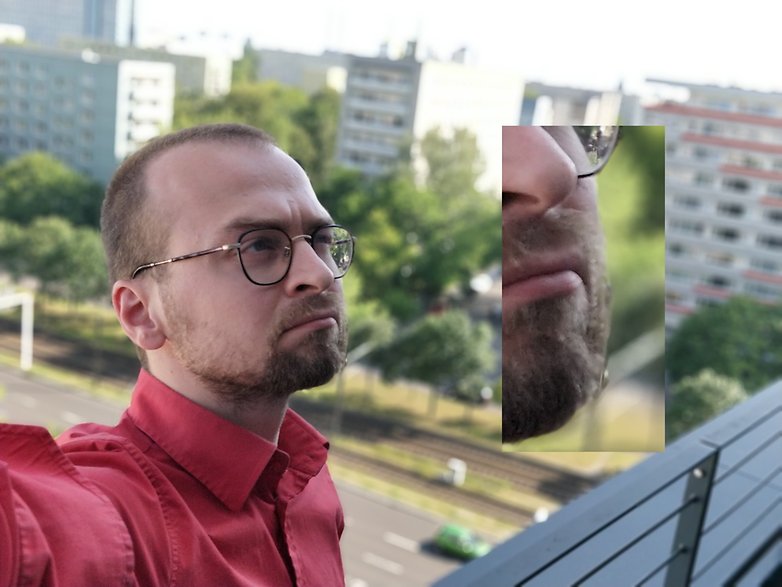
Even though digitally created bokeh effects are getting closer and closer to the real thing, there are still common pitfalls to be avoided, mostly caused by transparent objects like eyeglasses or cocktail glasses. In these cases, unfortunately, the blur effect is not applied to the background through the glass as it should be.
It is best to avoid putting transparent objects in the foreground next to your subject. For example, in the photo below, you can see that part of the background, as seen through the glasses worn by our colleague Eric, is not blurred.
Another big challenge for many smartphones' bokeh modes are lines that go from the foreground to the background. As many camera apps only distinguish between a few levels of depth, these can be blurred in a jarring way. With a "true" optical bokeh effect, rather than a digital one, this isn't an issue and the line would blue gradually into the background as it should. In any case, it's something to keep an eye out for.
Last but not least, I advise you to try out the power of your phone's bokeh mode and push the boundaries yourself. Some smartphones, for example, have problems with fine details against colorful backgrounds, for example, with strands of hair. If you are aware of the peculiarities of your smartphone's camera, you can be extra careful while photographing and improve the final image quality considerably.
Tip 3: The right background
Hopefully the aforementioned stumbling blocks have been cleared out of the way and your smartphone will deliver a technically clean bokeh photo. But here's another creative choice we can focus on: getting the right background. After all, it's not worth using bokeh mode if it's just a grey wall behind the subject, as a grey wall is dull whether it's blurred or not.

Instead, backgrounds with spots of light are particularly suitable. A string of lights, for example, or the illuminated windows of distant buildings are transformed by the blur into beautiful, soft spots of light. Another example is the sun shining through the leaves and branches of a tree, which provides for many small highlights. If you really look around, you will find many opportunities to create a great bokeh effect.
Bonus Tip 1: Light and shadow
Finally, I would like to add two small tips for successful portraits. Try to find flattering light for your subject. Try to seek out sources of soft light that will create soft shadows on your subject. This will put them in a favorable light, quite literally. Good options include a window with indirect light or a white wall that reflects the sunlight. Photographers use soft boxes and the like to turn their huge light stands into a subtle glow on the faces of their portrait subjects.
Position your subject so that the light comes from about 45 degrees from the side. Through the resulting (soft!) shadow, your model looks more sculptural in the photo, as if the light comes directly from the front. For a more dramatic look, you can also let the light come more from the side. Experiment here a little and compare the pictures with each other.
Bonus Tip 2: Framing
If you shoot a portrait, please do not position the person directly in the middle of the picture, but rather a just tick to the side. If the picture should look a bit more dramatic, we recommend aligning with the rule of thirds. Here, the photo is divided by two vertical and two horizontal lines in nine equal rectangles. The most important subject parts are then aligned with these lines.
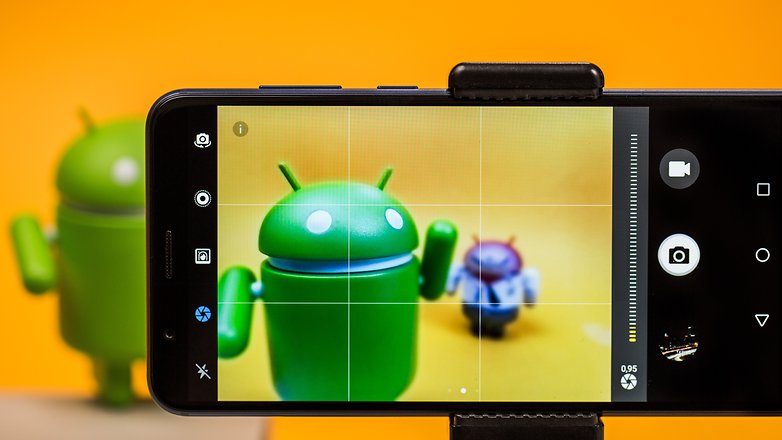
A more harmonious image will result from an alignment or framing based on the golden ratio where the lines are shifted a bit further towards the middle of the picture.
Of course, a full-blown camera offers more favorable results, but you won't always be carrying one of those with you. In any case, I think smartphones always bring great tools for shooting beautiful pictures. So, I want to know: What are your favorite tricks for shooting stunning portraits with your smartphone camera? I look forward to reading your comments!

