How to get Android 5.1 Lollipop on Nexus 6 [updated: new firmware out]
![How to get Android 5.1 Lollipop on Nexus 6 [updated: new firmware out] Nexus 6 hands on ANDROIDPIT 8](https://fs.npstatic.com/userfiles/6727621/image/NEXUS_6/Nexus_6_hands_on_ANDROIDPIT_8-w810h462.jpg)

If you can't wait for the OTA to arrive from Google (as it sounds like you can't) and simply must have the Android 5.1 update on your Nexus 6 this very instant, I'll walk you through it. It's a super simple procedure - just follow my guide on how to get Android 5.1 Lollipop on the Nexus 6, now with the very latest factory image: LMY47I.
- When will I get Android 5.1 Lollipop?
- What would you like to see in Android 6.0?
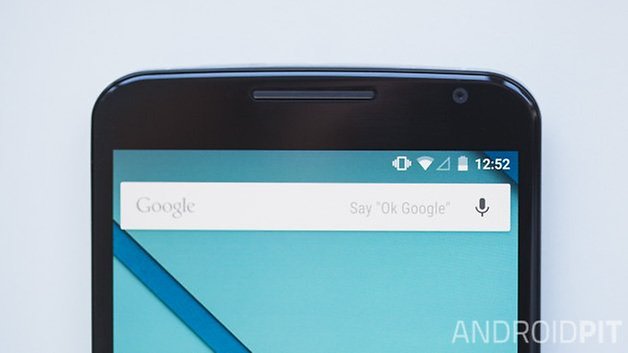
Note: Flashing a factory image restores your phone to its factory condition: that is, it will wipe all of your apps and data in the process. So make sure you have a full backup of everything important to you, or be happy to wipe everything and start fresh before proceeding.
Prerequisites
- Download ADB Tools and unpack the zip file
- Download Android 5.1 factory image for Nexus 6 (''shamu'' – LMY47I) - save it to the ADB Tools folder and unpack it too
- An unlocked bootloader – if you need help, follow our guide on how to unlock your bootloader (the tutorial is for the Nexus 5 but it works for all Nexus devices)
- USB Debugging enabled (instructions included in bootloader unlock tutorial linked above)
- Make sure you have the correct drivers installed on your computer
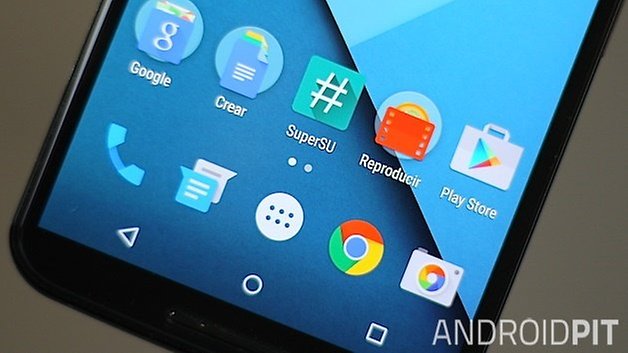
How to get Android 5.1 Lollipop on Nexus 6
1. Turn off your Nexus 6.
2. Press the Volume Down and Power buttons simultaneously until you enter the Fastboot screen.
3. Grab your USB cable and plug your Nexus 6 into your computer.
4. Navigate to the ADB Tools folder where you unpacked the factory image earlier. You want to make sure the firmware files live in the same place as adb.exe and fastboot.exe. If they don't, move them there.
5. Double click the flash-all.bat file and let it do its thing. (if you get a missing system.img message, see troubleshooting below for step-by-step instructions).
6. Your Nexus 6 will reboot and start up with Android 5.1 Lollipop.
It's not a bad idea to go to Recovery Mode and wipe the cache partition and wipe data/factory reset before restoring all your apps and data as this simple step clears up a lot of the teething problems that usually occur after a update.
Troubleshooting
If you have a problem before installation, make sure you have USB Debugging enabled and an unlocked bootloader as described in the linked guide above.
Bootloop
If you get stuck in a bootloop (your Nexus 6 won't move beyond the loading screen), you should clear the cache partition by going to Fastboot and using the volume keys to highlight Recovery Mode (use the Power button to confirm your selection). Once you've wiped the cache partition you can try to reboot.
If you still don't get past the boot screen, go back to Fastboot and select wipe data/factory reset and press the Power button to confirm. This should clear things right up.
ADB problems
If you get an error message in the command prompt window about a missing system.img file, do the following: unpack the image-shamu-lmy47i.zip file as well and copy and paste those files into the same place as the rest of the unpacked files (this should be the ADB Tools folder alongside adb.exe and fastboot.exe).
Then, open a command window (hold Shift and right click, select ''Open command window here'') and enter the following commands:
- fastboot flash bootloader <bootloader-filename>.img
- fastboot flash radio <radio-fileame>.img
- fastboot reboot bootloader
- fastboot flash recovery recovery.img
- fastboot flash boot boot.img
- fastboot flash system system.img
- fastboot flash cache cache.img
- fastboot flash userdata userdata.img
When you've finished all this, you can use the volume buttons to select ''Reboot system now'' and press power to confirm.
Once your Nexus 6 reboots it should be running Android 5.1. You can then restore your apps and data from your backup.
How are you liking Android 5.1 on the Nexus 6? What changes have you found so far?
