You've been using your Apple AirPods Pro ALL wrong! Here's why


Naming your headphones or assigning buttons are just two of the ways you can customize your AirPods Pro. We've listed five of the tricks you can use to tweak your AirPods to your preferences.
Shortcuts:
- Actions are performed by tapping twice on one of your AirPods
- To set your microphone option to left, right or automatic
- Change the noise reduction by placing your finger on one of the AirPods Pro
- Enable or disable automatic ear recognition
- Rename your AirPods
As with other wireless headphones, Bluetooth connectivity is the most important feature of the AirPods Pro. To adjust these, you must proceed as follows:
- Use your AirPods.
- Go to Settings on your mobile phone and activate the Bluetooth connection on your iOS or iPadOS device.
- In the device list, activate the button next to your AirPods. Now the headphones are ready for sound playback.
Discover the various settings options directly in this Apple video tutorial:
Actions are performed by tapping twice on one of your AirPods
With a simple tap of your AirPods, you can select different actions from the AirPods Pro. Before you do this, however, you should choose which of the two earbuds you want to use to perform the actions. You can launch the following actions with this:
- Some actions are compatible with Siri, such as calling up the voice function to manage your audio content, change the volume, or perform other possible actions.
- Start, stops or pause audio playback.
- Plays the next song.
- Jumps back to the last song.
To set your microphone option to left, right or automatic
Each earbud (and therefore each AirPod) has a microphone to use to make a phone call or speak to Siri. Usually the microphone function is automatically set to both headphones. If you only wear one of the two AirPods, it will naturally be used as a microphone.
If, despite using both earplugs, you only want to use the microphone on one of them, you can also set this manually. In this way, the modified headphones permanently function as a microphone. This also applies if you take it out of your ear. If you want to use the microphone automatically again, you have to set this yourself again.
Change the noise reduction by placing your finger on one of the AirPods Pro
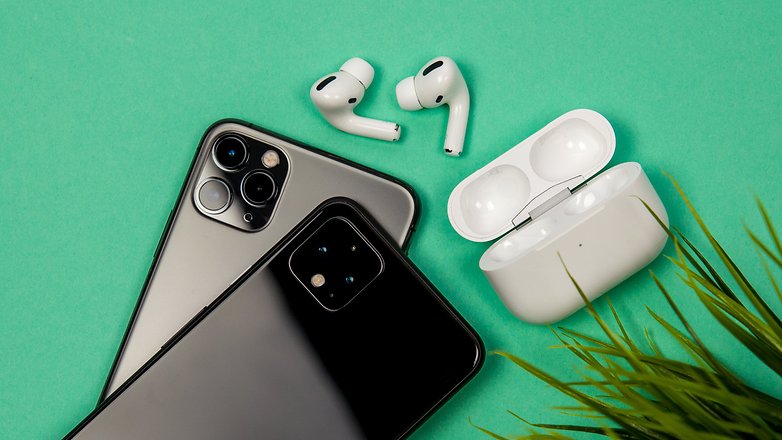
With AirPods Pro, you can choose from three different modes to adjust your headphones to match the volume of your surroundings: "Transparency", "active noise reduction" and "off". If you place your finger on the right or left AirPod, they usually switch from active noise reduction to transparent mode. You can adjust the noise reduction modes used to your needs via the settings. Here's how to do it:
- Calls up the AirPods Pro settings on the display.
- Place your finger on the AirPods and then touch either the left or right earbud to verify that noise control is selected.
- Selects the sound modes you want to use with your AirPods Pro. If you have configured the two earbuds in the settings to switch between the different modes, this always applies to both. This means that you only need to tap one of the two earbuds to make the change on both AirPods.
Besides the different modes, you can also adjust the "push" option of the headphones to connect Siri to them. This is done again via the settings. To do this, select your AirPod Pro (left or right) in the Settings Panel, then select Siri. You can set the Siri function on one of the two earplugs, while the other one controls your noise reduction. Practical, don't you think?
Enable or disable automatic ear recognition
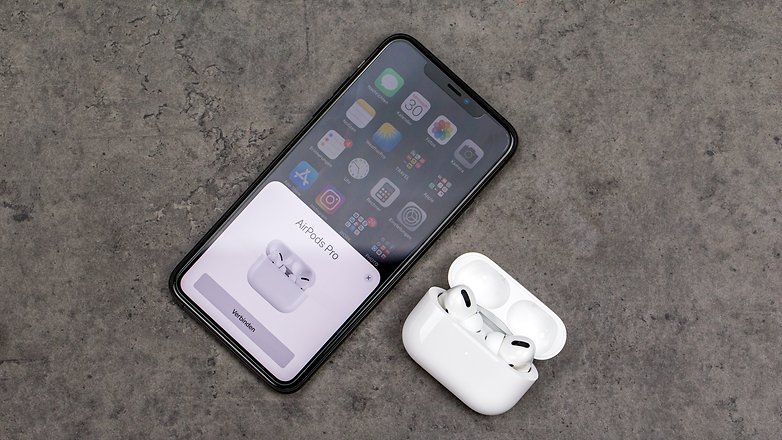
Normally the AirPods will detect if you have them in your ears and play music. Whether the headphones continue or stop playback depends, as you have probably already noticed, on whether you wear the in-ears or have taken them off.
If automatic ear recognition is enabled, the device will play music only when the AirPods Pro are in your ears. If you turn off detection, AirPods will play the music back to you whether you wear them or not.
Rename your AirPods
If you want to rename your AirPods, tap the current name. Then enter the new name and set to Done.
Have you discovered and cool tips and tricks for your Apple AirPods? Share them with us in the comments section below.
