Setting up your Fitbit: How to set up the Charge, Versa, etc
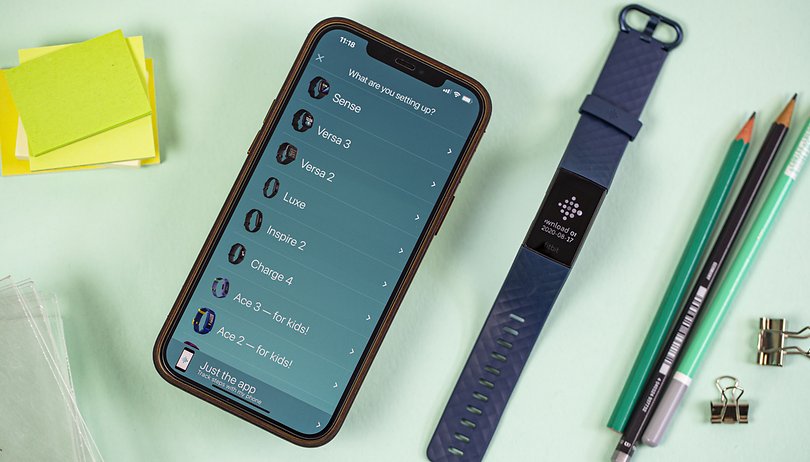

You've snagged yourself a brand new Fitbit tracker. The question is, how do you set it up? In this tutorial, we will show you how you can connect your Fitbit Charge, Versa or Sense to your smartphone or computer. We also have a few tips that can help you get you started right away.
In order to use your Fitbit tracker, you will need a Fitbit account first. You only need to connect your Versa, Charge, Sense and other compatible devices to your account once. If you were to log in to your account on other devices after the initial setup, all of the data would have been synchronized and are readily available.
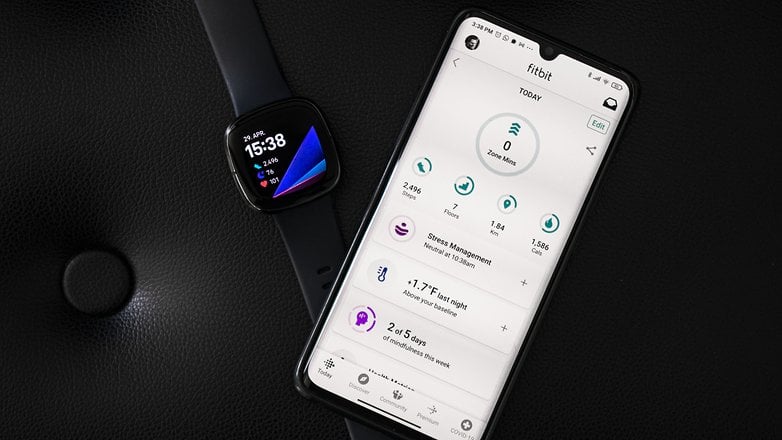
Contents:
- Setting up Fitbit fitness trackers with Android/iOS.
- Connecting your Fitbit fitness tracker to your computer
- Synchronizing and setting up key features
1. Setting up your Fitbit fitness tracker to an Android/iOS device
The easiest and fastest method of setting up a Fitbit tracker is to do so with your smartphone. The process to connect it to your iOS or Android device is identical. In any case, it is important that your smartphone's Bluetooth connection is turned on and your Fitbit tracker is charged to a reasonable level.
1.1 Installing the Fitbit app on your smartphone
First, you will need to install the Fitbit app on your smartphone in order to set up the tracker.
Huawei smartphone users can locate the Fitbit app via Petal Search.
1.2 Create a Fitbit account
After installing the app, the Fitbit app will ask you to either log in using your existing account or create a new account. Just follow the instructions shown on the screen to proceed.
If you already have a Fitbit account, you can skip this step and log in directly using your existing credentials.
1.3 Connect your Fitbit tracker to your account
In the next step, you will connect the Fitbit tracker to your Fitbit account. If you have just created a new account in step 1.2, the app will automatically search for new devices.
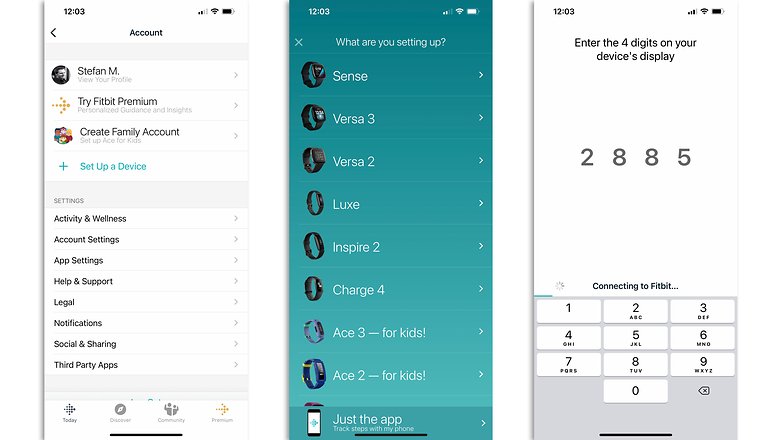
Otherwise, click on your profile picture in the top left corner of the app. In that menu, you will find the item "Set up a device" at the top, which will begin the search process. It is important for you to select the correct device in this step. If the app is on the lookout for a Versa 3 but you have a Charge 4 instead, the setup might not work.
Tip: For increased security, you should activate two-factor authentication in your account. You can find the option under "Account settings" and "Two-factor authentication".
2. Connectingyour Fitbit fitness tracker to your computer
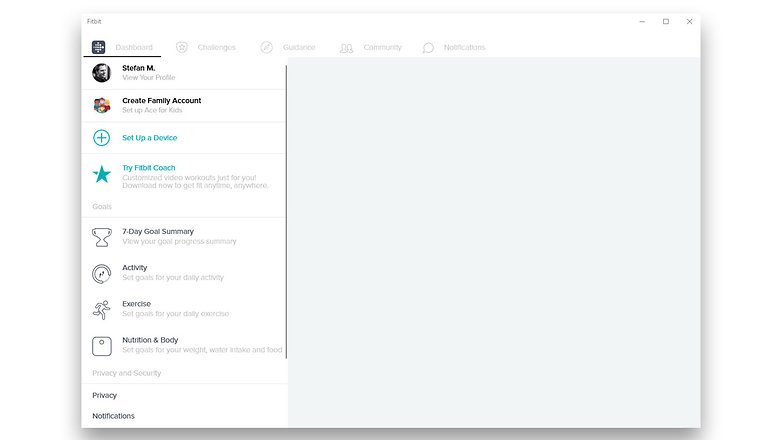
As an alternative to your smartphone, you can also set up your Fitbit fitness tracker to connect to your computer. In order to do this, you will need the software known as Fitbit Connect, which is available for Windows 10 and (theoretically) macOS X. Unfortunately, the Fitbit application for macOS X is outdated and no longer functions well on the latest version of the operating system.
2.1 Download and install Fitbit Connect
To connect the Fitbit tracker to your computer, you need the right software. Currently (as of July 2021), we do not recommend the macOS X version.
- Download Fitbit Connect from the Microsoft Store
- Download Fitbit Connect for macOS X (deep link from Fitbit.com)
2.2 Create a Fitbit account
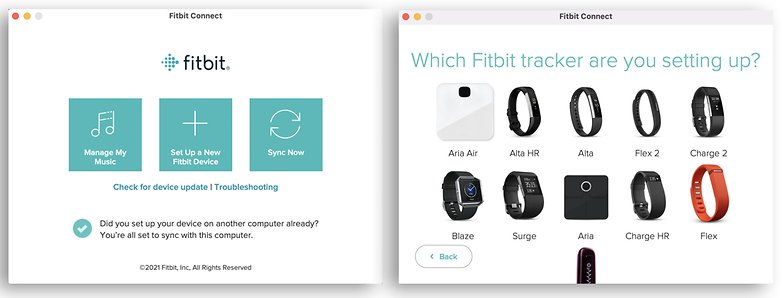
To connect your Fitbit tracker to your computer, you'll also need a Fitbit account. When you first launch Fitbit Connect, it will present you with the option to "set up a new device". If you do not have a Fitbit account yet, click "New to Fitbit" and follow the subsequent instructions that are displayed in the browser to finish setting up your account.
If you already have a Fitbit account, simply click on "Existing User" in Fitbit Connect and log in using your email and password.
2.3 Connecting your Fitbit tracker to your account
Once you have logged into Fitbit Connect with your new or old account, you can connect your Charge, Sense, Versa, and other compatible devices. Make sure your computer has Bluetooth turned on. Follow it up by clicking on the business card icon in the top right corner of the app (second from the right).
From there, select the correct Fitbit device and follow the instructions displayed in the app to connect. If you've connected the device to your account from your computer, you don't need to perform these steps on your smartphone - all you need to do is to log in using your email and password.
3. Synchronizing and setting up the most important functions
The following step would see us provide a few more tips on how to get started with your newly set up fitness tracker in order to obtain maximum benefits from your Charge, Versa, Sense, and compatible device.
The first step is simple: wear your newly set up fitness tracker for as often as possible in order to let it collect data about your body and lifestyle habits. The Fitbit tracker will be able to collect the following metrics even without your intervention:
- Sleep duration and quality.
- Steps taken and distance traveled.
- Floors climbed.
- Calories burned.
- Heart rate and resting pulse.
Make sure you pay close attention to the battery level and charge the tracker as and when required to avoid gaps in the data collection.
Synchronization: Manual and automatic
Basically, you don't have to do anything else to synchronize your data. The Fitbit tracker will automatically connect and transfer data whenever the device is within range of a computer or smartphone automatically with the existing app after the initial set up.
Alternatively, you can also perform a manual synchronization. You can do this in the device settings that you have set up by clicking the "Sync now" button. Alternatively, you can simply drag the home screen of the app down on the smartphone to begin the synchronization.
Tracking your workouts
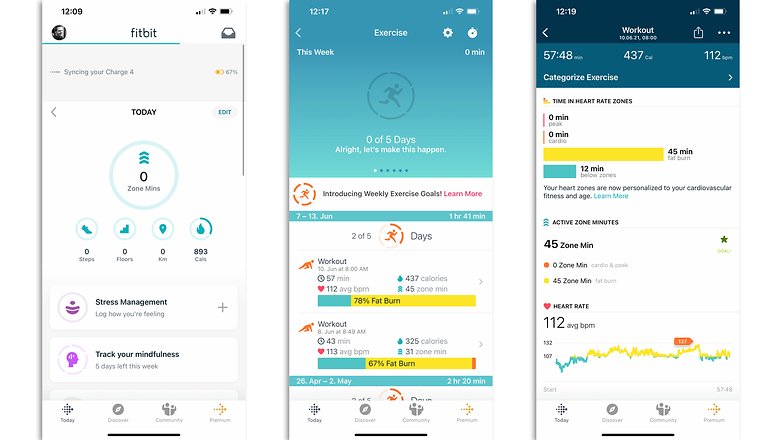
While your Fitbit tracker automatically tracks your everyday activity, you also have the option of tracking your workouts manually. Whenever you're running or cycling, you can admire the distance that you've covered afterwards.
By manually beginning these training sessions via the fitness tracker itself or the app, you can review your performance later on how successful you have been with your training plan. In addition, selected data and metrics, such as the heart rate or times spent in different pulse ranges can be better tracked.
Tracking your nutrition
You can also use the Fitbit app to track your nutrition intake. This is especially important if you are interested in keeping track of your weight. You can then calculate your calorie intake against the number of calories consumed.
The difference will then (theoretically) determine whether you are gaining or losing weight. In reality, of course, it is a bit more complex than simple calorie intake (or deficit), so I would recommend the following articles when it comes to determining calorie consumption.
Related Links:
