How to unlock the Nexus 5X bootloader


So you've got yourself a brand spanking new Nexus 5X and you want to play around a little bit more than Google generally wants you to. Good for you. The first thing you'll need to do is unlock the Nexus 5X bootloader so you can dive into the world of root and recovery, custom ROMs and system tweaks. Let's do this.
- Nexus 5X vs Nexus 6P comparison
- Nexus 5X Android update news
A word to the wise: unlocking the bootloader opens your phone up to some possibly risky scenarios. If you were to lose your phone, for example, an unlocked bootloader would allow the person who finds your phone to flash a different ROM. As you may have guessed, a locked bootloader limits the boot images you can flash to those digitally signed by the manufacturer. Make sure you're comfortable with the risks before proceeding.
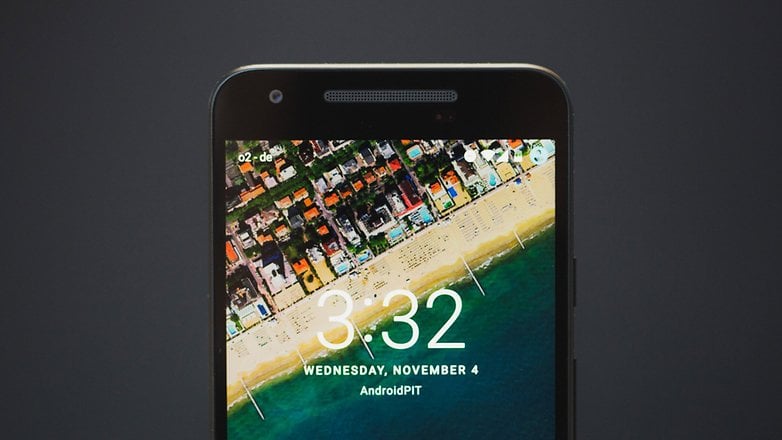
Note: This process wipes your device, so make sure you have backed up everything you need before you start. If you need some help, follow our guide on how to back up Android.
Prerequisites
1. You'll need to buy a USB Type-C to USB Type-A cable for this tutorial because, the Nexus 5X doesn't come with one (unlike the Nexus 6P). So go grab yourself one of those first.
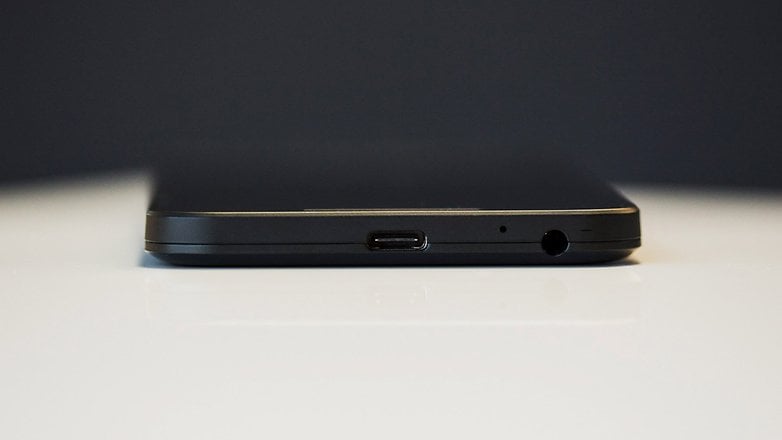
2. Make sure you have Google's USB drivers installed on your computer.
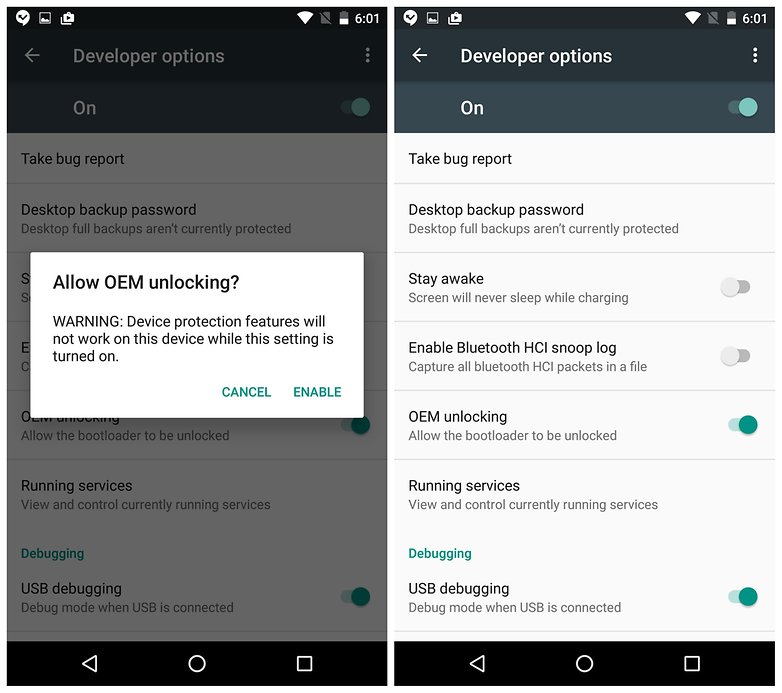
3. Now, you need to unlock a few features in Developer options. To set that up, go to Settings > About phone and tap Build number seven times until you see the notification that Developer options has been enabled. When you back up to Settings, you'll see it at the bottom of the list.
4. Go to Developer options > USB Debugging and enable it.
5. Next, flip the switch in Developer options > OEM unlocking.
6. If you don't have ADB Tools installed on your computer, download it now.
How to unlock the Nexus 5X bootloader
1. Connect your Nexus 5X to your computer with the USB cable.
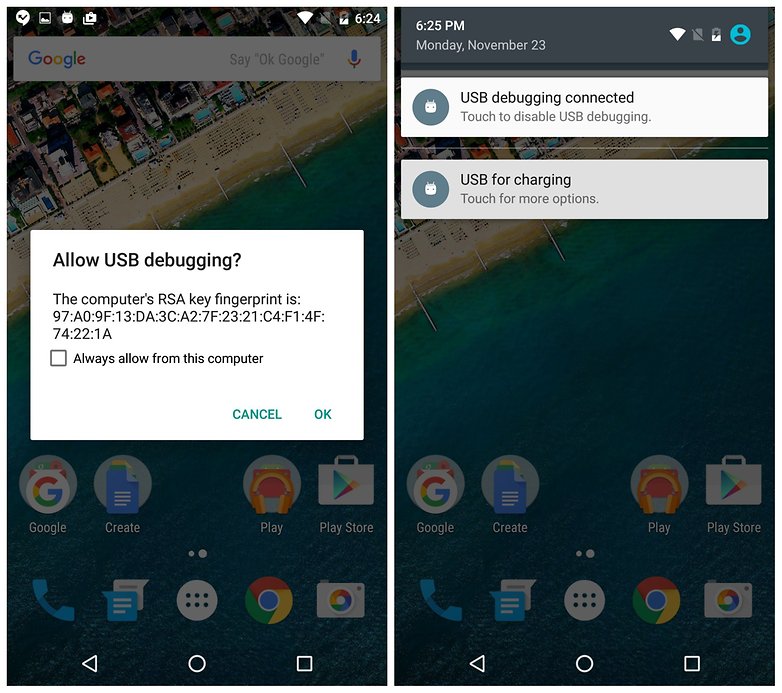
2. When you see the RSA key pop-up on your Nexus 5X, tap OK to allow USB debugging (your phone needs to be unlocked for this screen to appear).
3. Open the ADB Tools folder on your computer, hold Shift and right click your mouse. Select Open command window here.
4. Type in: adb devices
5. You should see some numbers in the terminal window: that's your Nexus 5X serial number. If you don't see the numbers, make sure you have the correct drivers installed and repeat.
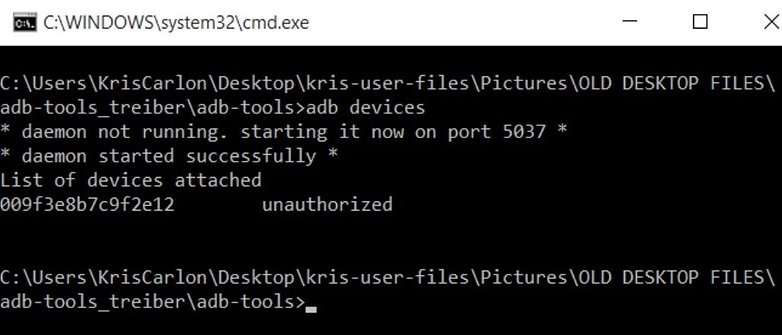
6. Now you need your Nexus 5X in Fastboot mode. You can do this by turning it off, holding Power and Volume down, or in the command prompt, by typing: adb reboot-bootloader
7. In the command window, type: fastboot oem unlock
If the above command doesn't work for you, type: fastboot flashing unlock
8. On your Nexus 5X, when the bootloader unlock screen appears, use the volume buttons to highlight Yes and press Power to confirm. Remember, this step wipes your data, so make sure you've backed up.
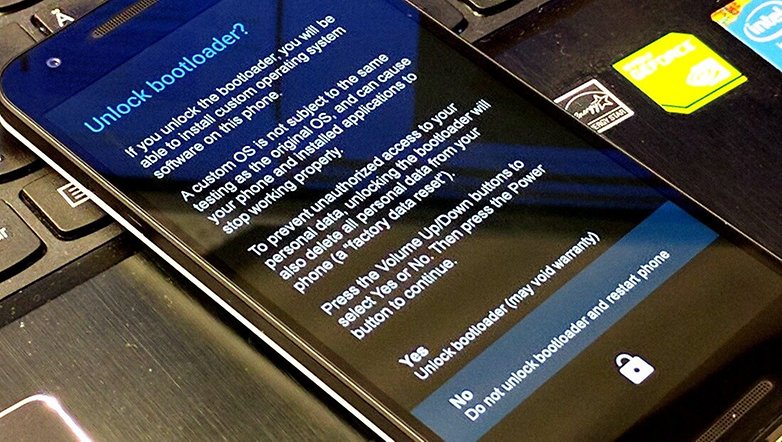
9. Once that is done, type: fastboot reboot
10. Your Nexus 5X will reboot with an unlocked bootloader. Every time you reboot you'll be reminded that your device's bootloader is unlocked. If you want to lock it again, reboot to Fastboot, open a command window on your computer and type: fastboot flashing lock
What's the first thing you're going to do with an unlocked bootloader? Let us know in the comments.







Thank you!!... this article was really helpful.
When are you doing an article on how to unlock a galaxy s4 ACTIVE I537. Seems to be the last galaxy phone on earth that can't be rooted. POS!