How to root and unlock the bootloader for any Nexus device with this easy tutorial


If you are looking to root your Nexus device, but you haven’t been able to hunt down a simple procedure, the Nexus Root Toolkit by WugFresh is great! It allows you to unlock the bootloader, install custom recovery as well as root (almost) any Nexus phone very easily.

The Google Nexus phones and tablets where this applies:
- Galaxy Nexus : GSM model (yakyu / takyu)
- Galaxy Nexus : CDMA / 4G Verizon model
- Galaxy Nexus : CDMA / 4G Sprint model
- Nexus S : international, i9020t and i9023
- Nexus S : 850MHz, i9020a model
- Nexus S : Korea, M200 model
- Nexus S 4G
- Nexus 7
- Nexus 7 3G
- Nexus 7 (2013)
- Nexus 7 (2013) 4G
- Nexus 10
- Nexus 4
- Nexus 5
- Nexus 9
- Nexus 6
Warning
Please be aware that this process isn’t risk free, and that neither AndroidPIT nor I will take any responsibility for damages incurred. It’s very important to follow the steps carefully and also be aware that this procedure will wipe all of the data on your phone, so make sure that you complete a full backup of your files, documents, pictures, videos, etc beforehand.
The script below will allow you to unlock the bootloader, root your device, save files and install apps as well as revert your phone back to the stock version.
Installation
- Start by downloading the NRT_v1.9.9.sfx.exe and installing it on your PC. You’ll see a shortcut on your desktop like you see below.

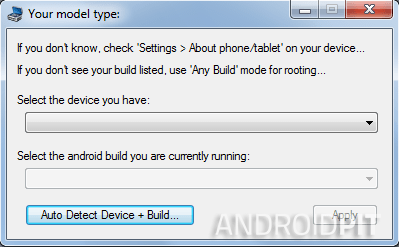
- Double click on the ‘’Nexus Root Toolkit’’. It will complete a small search and ask you for your phone model as well as your current version of Android. This information can be found in the Settings of your phone, under Settings, About phone.

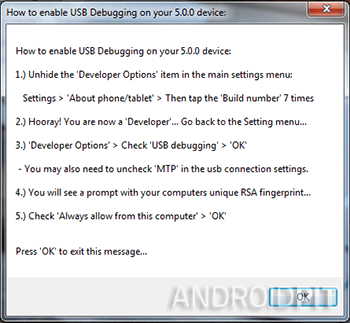
- Once the window is open, it will explain how to activate USB debugging on your Nexus device.

- Just to repeat what it says in the window and activate the developer options in your phone by tapping on the build number 7 times. Once you see that the settings have been unlocked, hit back and choose the Developer settings which now appear above About phone. Tap on USB Debugging and choose OK.
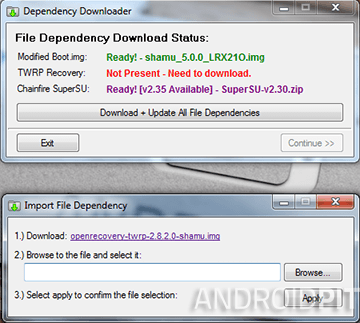
- It will now search again and if you are lacking any type of required file, it will suggest you download them and show you how to get them.

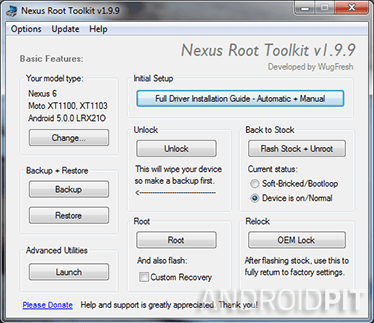
- Once everything is installed, you will see this window.

- Start by installing the drivers by clicking on Full Driver Installation Guide.
- Once the installation is done, you can select the required actions on the interface.
- Start by backing up your system. Next, unlock your device’s bootloader. Finally, you can start installing the root and custom recovery by choosing both root and custom recovery boxes.
Done! Your Nexus device has now been rooted and the bootloader unlocked. If you require extra help, you can check out the tutorial video.
Source: XDA Developers


How about ZTE? Is there any method or solution on how root?
CF Auto Root...Samsung devices. by @Chainfire
This would be great for the Galaxy S4. Save a lot of hassle.
i have a question!!
do we lose root access if we flash a whole new image of a stock rom via the process given on the Google Developer's Website?
I'd CyanogenMod installed with CWM recovery but later i flashed Android 5.0 with the given process it was all gone, i mean the root n all! later i again rooted my nexus 4!