How to update Nexus 5 bootloader and radio

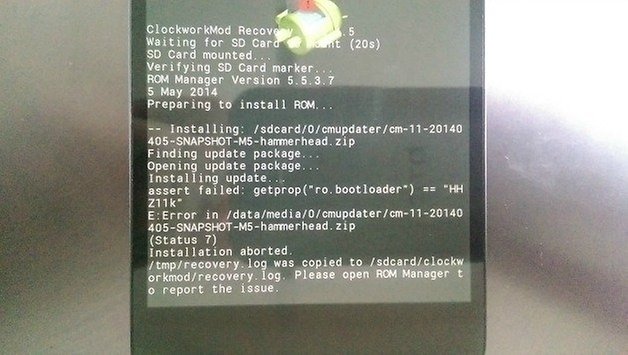
If you've tried updating your version of CyanogenMod lately and have been having some trouble, here's the most likely solution. If you've tried flashing firmware and got a Status 7 error and had no idea what that means, it means that your bootloader needs to be updated for the firmware to take hold. You may also need to update your radio. Here's how to do both on the Nexus 5.
1. First, you need ADB Tools installed on your PC. You can grab the download as part of the Android SDK. If you don't want the whole thing, just grab adb.exe from the SDK. You may also want to download Universal Windows ADB Driver from Koush too.
2. Make sure you have the relevant drivers installed on your PC for your Nexus 5. These should download automatically the first time you plug it in with a USB cable.
3. Next, you need USB Debugging enabled in Developer Options on your Nexus 5 (it's the same process on all Android devices).

4. Download the latest factory image for your Nexus 5 from the Google Developer's site. Right now that's KOT49H Android 4.4.2 (but this will be updated to Android 4.4.3 in the coming weeks. You may not need to update your bootloader again but if you do, you can substitute those files for these ones and repeat the process with the newer bootloader and baseband files).
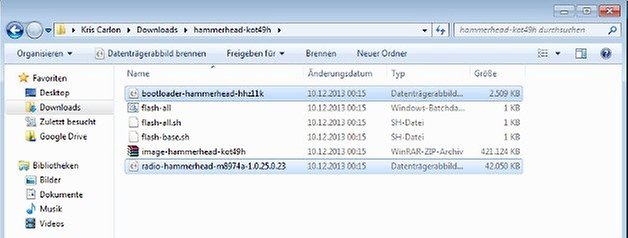
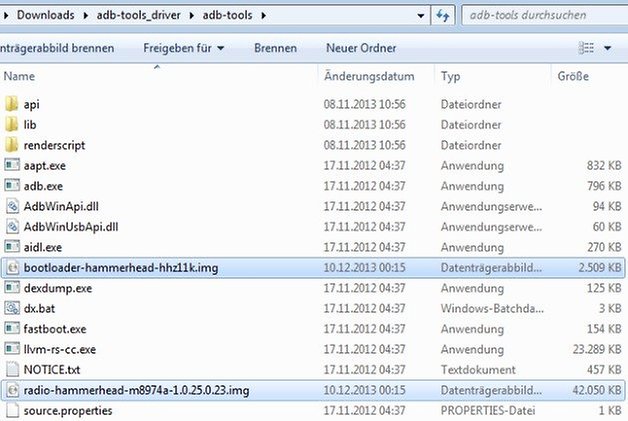
5. Extract the files and take a copy of the bootloader and radio files and place them in the ADB Tools folder.
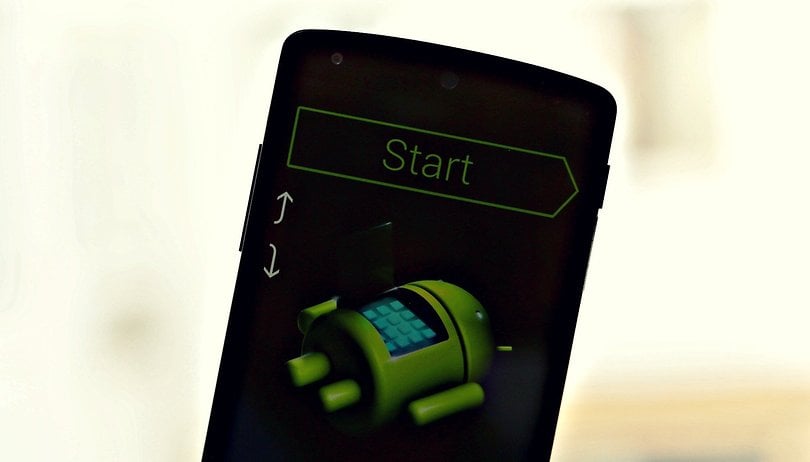
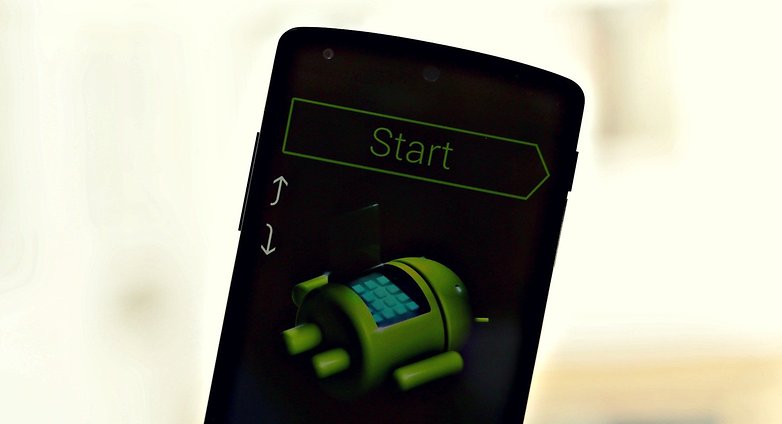
6. Reboot your Nexus 5 into Fastboot. To do this just turn your device off, then press and hold Volume Down and Power until you see the Fastboot Menu (Android lying on its back).

7. Connect your Nexus 5 to your PC with a USB cable.
8. Open a Windows Explorer window and navigate to ADB Tools (where you just placed the bootloader and radio files), hold Shift and right click anywhere in a blank space in the window. Select ''Open Command Window Here.''
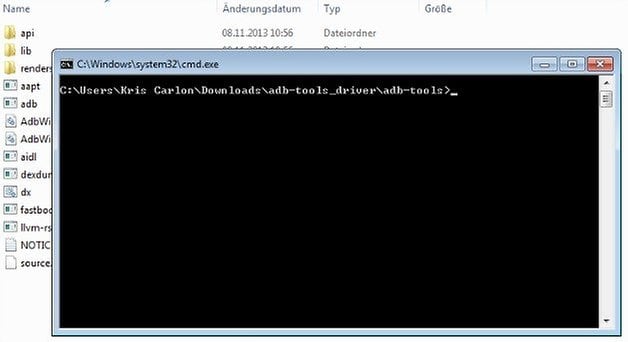
9. Type in the following command: fastboot flash bootloader bootloader-hammerhead-hhz11k.img and hit enter. Let it do its thing.
10. Next, type in: fastboot flash radio radio-hammerhead-m8974a-1.0.25.0.23.img and hit enter.
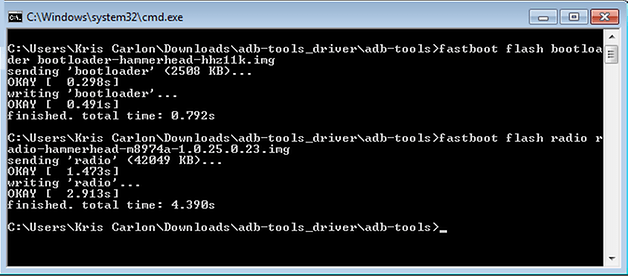
11. Now reboot your Nexus 5 and you should have the new bootloader and radio installed. If you want to check you can simply reboot the bootloader from the fastboot menu and check for the updated version numbers in the information at the bottom.
12. Once you reboot normally, you will be able to download the latest CM 11 build and flash it however you like, either with a useful tool like CyanogenMod Installer or ROM Manager or manually through custom recovery like TWRP or CWM.
Have you updated your bootloader manually? Has this fixed your CM 11 flashing problems?

