How to root the Galaxy S3 to get a newer version of Android
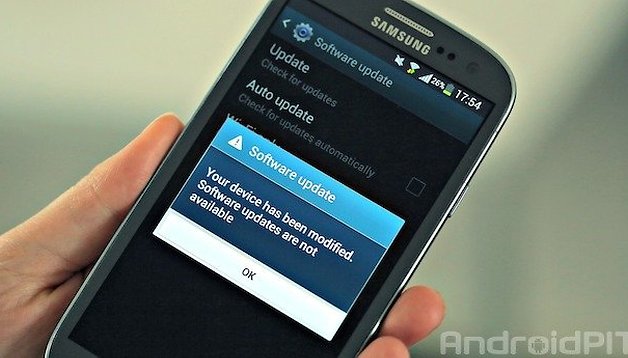

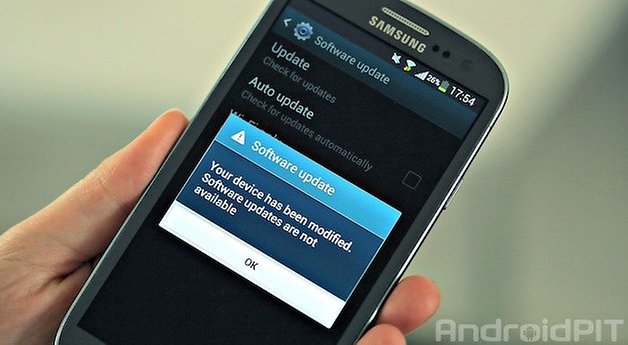
With the rather unfortunate announcement from Samsung last week that the kitKat update list will be dropping the international version of the Galaxy S3, the 3G-only GT-I9300, I thought it might be a good time to share a root tutorial for the Galaxy S3 so you can take the first steps towards entering the brave new world of flashing custom ROMs, which will have you running a KitKat-based ROM for the S3 lickety-split.
- How to take a screenshot on the Galaxy S3
- How to factory reset the Galaxy S3
Warning:
Rooting and flashing ROMs does come with risks, but considering Samsung isn't supporting your device any longer and it is more than likely out of warranty, unless you really can't afford to get a new device if something goes terribly amiss, you should be fine. Just follow the steps outlined below carefully, and if you're not sure, do not proceed until you get some clarification. If you use Knox, have a read of this Samsung post about how Knox interacts with the root tool used in this tutorial first.
What you need:
- Unlocked Galaxy S3 GT-I9300 (international 3G model, no carrier branding)
- Stock Samsung Android 4.3
- Odin v3.09
- CF-Auto-Root

1. Make sure you have the relevant drivers for the Galaxy S3 installed on your computer (should happen automatically the first time you plug in with a USB cable) and that you have USB Debugging enabled in the Developer Options. To get this mode in your settings, if you don't already have it, go to Settings > About Phone > Build Number and tap it seven times until the toast pops up announcing you have enabled Developer Options. Make sure you have plenty of battery too, preferably over 80% just to be sure.
2. Do a backup of all the important data on your device. I repeat, do a backup of all the important data you want to restore. It's better to be safe than sorry.
3. Turn off your S3 and restart in Download Mode. Do this by pressing and holding Volume Down, Home and Power until you see the triangle warning screen. Press Volume Up to enter Download Mode.
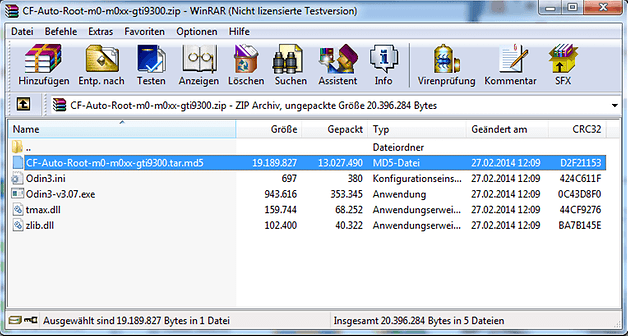
4. Extract the two files above (Odin and CF-Auto-Root), put Odin in the same folder as the unpacked Auto-Root files and launch Odin.
5. Connect your S3 in Download Mode to your PC with a USB cable and wait until it is recognized by Odin (the ID: COM box will turn blue).
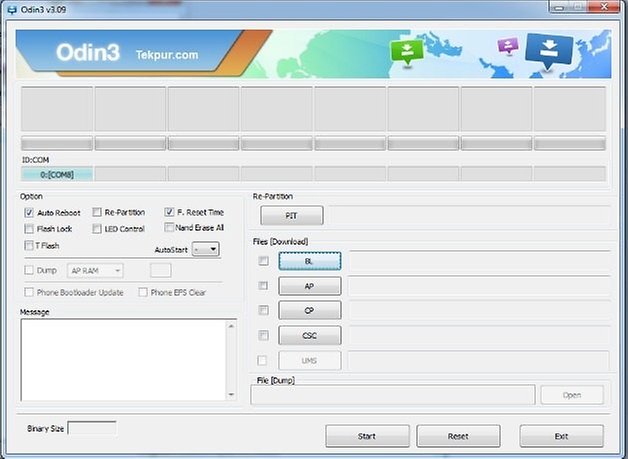
6. Click the AP box and locate the tar.md5 file in the unpacked CF-Auto-Root files.
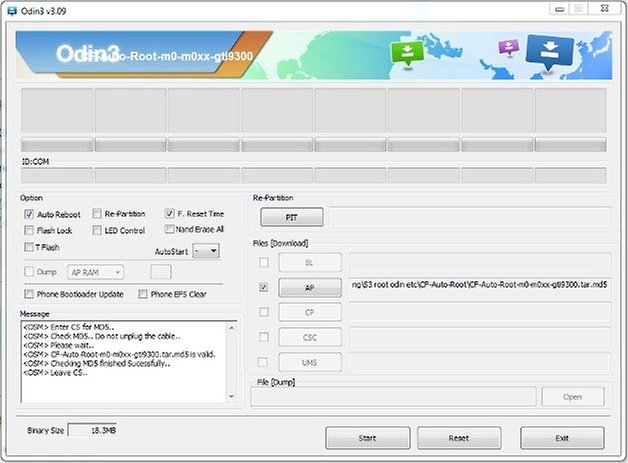
7. Make sure Repartition is not checked. Auto Reboot and F. Reset Time are OK though.
8. Click Start and sit back and wait. Do not disconnect your S3 and do not panic. This step can take a while.
9. If you kept Auto Reboot checked in Odin your S3 will reboot. If you didn't keep it checked, manually reboot your phone now. You should see a Pass message displayed in Odin.
10. Disconnect your S3 from your PC. You should now have the SuperSU app installed on your S3.
Install Root Checker from the Play Store link below and grant it superuser privileges. Run the app and confirm that you now have root access. Next step is to find yourself a nice KitKat ROM for the Galaxy S3.
Let us know in the comments what ROM you ended up choosing and if you have any questions the best place to ask is in the Galaxy S3 forum.


Thanks for sharing this wonderful tip here. Also, I'd like to recommend iRoot to root Galaxy S3 without computer.
Thanks a lot! Successful on my Samsung Galaxy S3 I9300 running Android 4.3.
and if i want kit kat for the GT-i9305N?
My S3 is an international version- now unlocked, but bought from o2 UK. Would it be safe to carry on with this rooting ??
Omega Rom AOKP 4.4.2
Paranoid Android - BETA A3